


Being quick and lightweight, Rollup is credited with compressing multiple JavaScript files to a single file. In this article, you will learn how to use the Rollup module bundler in JavaScript.
Prerequisites
To follow along with this tutorial, the reader should have the following:
- A fundamental understanding of the JavaScript programming language.
- A code editor (VS Code will be used in this article).
- Node.js installed on your machine.
Why should you use Rollup?
Here are some reasons why you should consider using Rollup in your projects.
- It offers tree-shaking which removes unused codes for easier project development.
- Eases application development, since it is easier to work with small manageable files.
- Rollup is pretty fast and lightweight.
- It is compatible with ECMAScript 5.
Step 1: Rollup installation and configuration
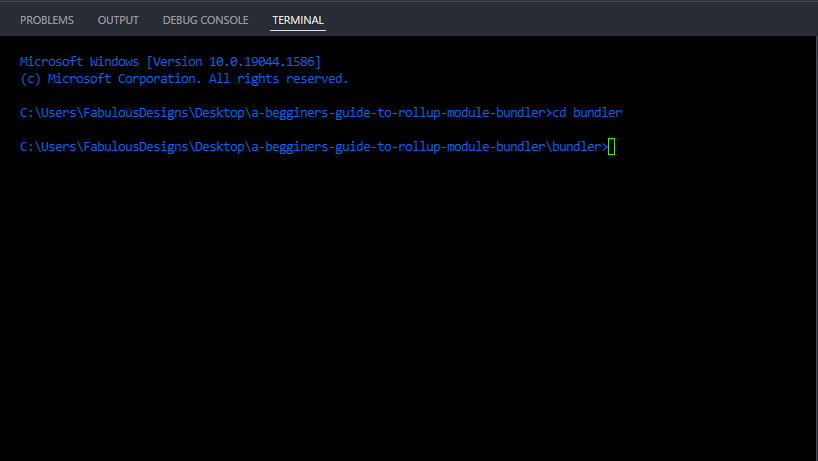
Open VS Code, create a new folder, and name it bundler. We will initialize the folder as an npm package. To do that open your VS Code terminal and change into the bundler directory through cd bundler. In my case, I will have the following.
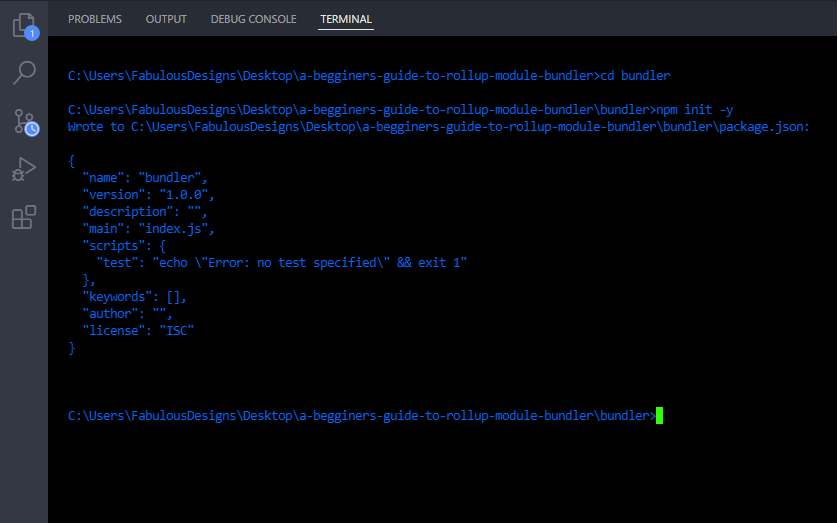
Run the below code to initialize the folder as an npm package.
npm init -y
Next up is to install rollup in our folder by running the following command.
npm i -D rollup
Note that by including
-Din the installation command, Rollup will be installed as a development dependency.
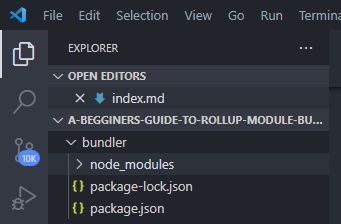
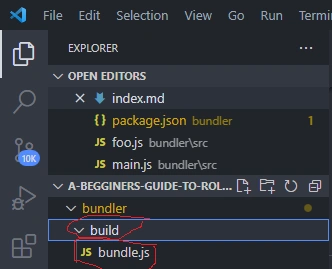
If your installation was successful you should have the following in your folder.
Step 2: Creating your first Rollup bundle
Start by creating a src folder. This folder will house several JavaScript files and in that case, create two files in this folder and name them main.js and foo.js.
In foo.js we are going to export a string, but you can export functions, variables, or any valid data types.
export default "I'm trying out Rollup Module Bundler";
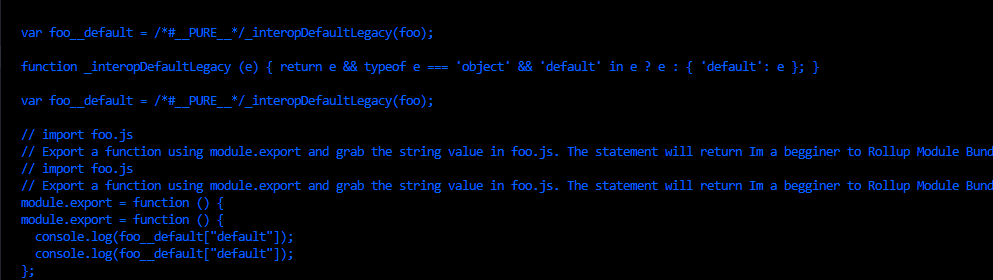
We will import foo.js in the main.js file and export a function using module.export which will then display the string from foo.js.
import foo from "./foo.js";

// Export a function using module.export and grab the string value in foo.js. The statement will return "I'm trying out Rollup Module Bundler"

module.export = function () {
  console.log(foo);
};
To create a bundle we will have to create a start command in the package.json file and specify the format as cjs (common JavaScipt) as shown below.
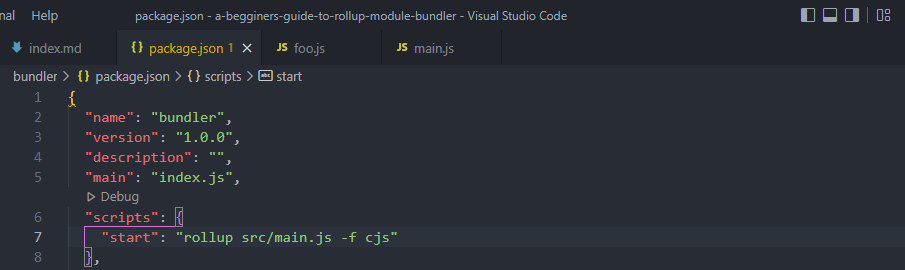
Open the terminal and run the start command to create the bundle.
npm start
You should have the bundle printed in your terminal as shown below.
If you want to have the bundle code in a file you have to specify the output file.
In the start command located in package.json, specify the output file such that when you execute it, you are going to get your code in a file.
Like this:
"scripts": {
    "start": "rollup src/main.js -o build/bundle.js -f cjs"
}
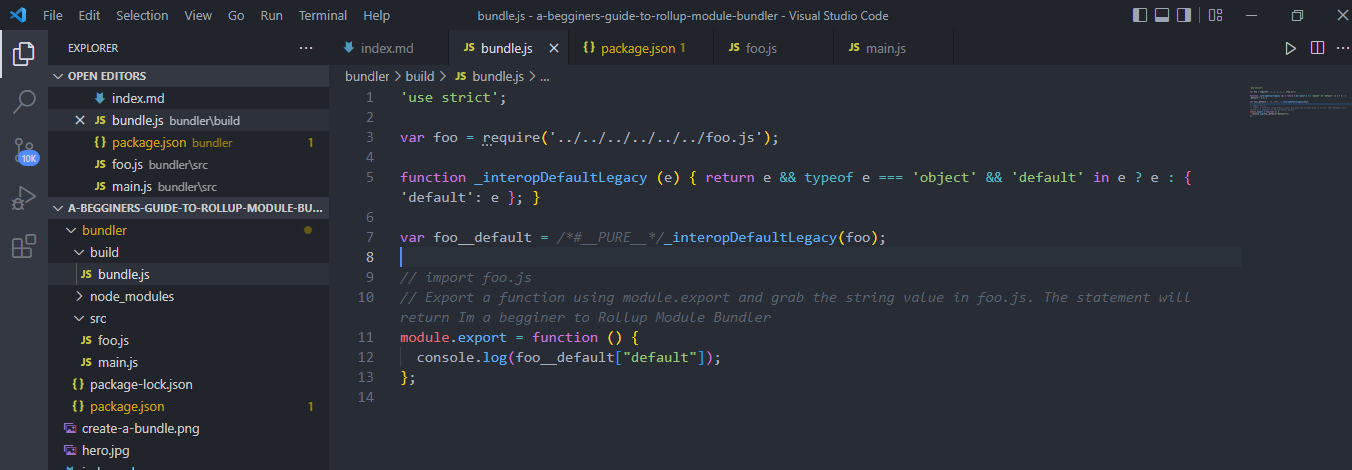
The -o flag specifies the output file which in this case is build/bundle.js. The format (-f) will remain as common JavaScript. Now on executing the start command, a build folder will be created with a new bundle.js file that has combined all our code as shown below.
One more way in which you could create a bundle is by creating a Rollup config file at the root of our project and naming it rollup.config.js.
Note that the file should only be named as stated so that Rollup can find it.
In our case, our config file will entail the following:
export default {
  input: "src/main.js", // Here is the entry point of our application
  output: {
    file: "build/bundle.js", // Bundled code will be contained here
    format: "cjs", // species the format of our file
  },
};
Now that you have a config file, instead of having the output filepath in package.json.
We will simply have:
"scripts": {
    "start": "rollup --config"
}
Step 3: Plugins
Plugins allow you to customize Rollup behavior. For example, transpiling code before bundling, and finding third-party modules in your node module folder.
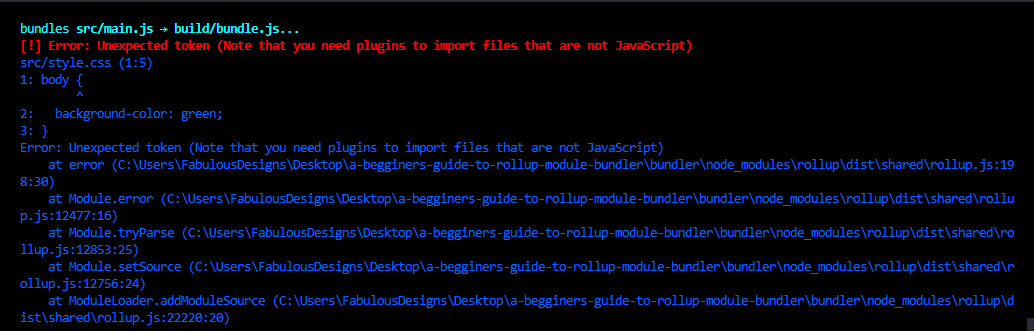
Let’s see an example of how we can use a CSS plugin in Rollup. By default, Rollup will only transpile files with the .js extension. Let’s suppose we want to bundle a stylesheet with the following code.
body {
  background-color: green;
}
We will import it in our main.js file like this:
import "./style.css";

module.export = function () {
  console.log(foo);
};
When you try to bundle this file, the following error will show up. This is because we have not installed any plugin to handle CSS stylesheets.
To solve this, let’s first install the CSS plugin from the terminal as shown below:
npm i rollup-plugin-css-only
In your rollup.config.js file, import the module, create a plugins entry, and set its value as an array since it may contain more than one value as shown below.
import css from "rollup-plugin-css-only";

export default {
  input: "src/main.js",
  output: {
    file: "build/bundle.js",
    format: "cjs",
  },
  plugins: [
    css({
      output: "bundle.css",
    }),
  ],
};
Head to the terminal, run your file and in your build folder you should now have a CSS bundle file as shown below.


Conclusion
From this tutorial, you learned how you can use the Rollup module bundler at a basic level. If you want to learn more about Rollup see the official documentation here.


Comments: