


In this tutorial, we will go through the multi-module architecture – which gives a drastic improvement on the monolith approach, yet offers as many possibilities of the microservices architecture, while evading the huge demands of microservices.
We will build a model of a hospital management system, taking into account some of the departments that make for a successful medical application.
Prerequisites
To make the most of this tutorial, it is required to have:
- A basic understanding of microservices.
- Familiarity with the Spring Boot framework.
- Good internet connection.
- IntelliJ code editor installed.
Why multi-module architecture is better than monolith?
Traditional monolith design puts all the services for a project in one singular module. Everything is housed in one big box just as they are. In a multi-module, each service is compartmentalized before being placed in the big box; the project. Multi-module allows for code re-usability, unlike monolith. Code maintenance and adding new features or functionality is much easier.
Advantages of multi-module over microservices
In a microservices architecture, services are built separately as individual projects and deployed separately. For instance, the authentication service of a bank, built to just authenticate users and requests is deployed to an AWS server. This communicates over some structured means with another service.
Say a “Transfer Service” of the same bank, built for transfers but deployed elsewhere, like Heroku. With this type of design, availability across all interconnected services simultaneously, can be difficult.
In our example above, if the authentication server reports a downtime, every other service depending on it, like the “Transfer Service”, will also not work. Researching this out to be fixed can be challenging, especially if the service reporting the downtime is not a bogus, popular service within the organization.
In a multi-module, there is only one project with several compartments or modules, each representing a service – authentication module, transfer module, etc., all housed in that project. This project is hosted in just one place and so, its server’s availability means a total system availability every time.
This approach also lowers the cost of hosting projects; microservices are clearly more expensive to maintain. Also, passing dependencies to projects in microservices is not a simple feat. It still boils to service availability.
However, with multi-module, dependencies do not leave the system. It is much easier to pass project-specific and module-specific dependencies around. This makes maintenance easier with multi-module architecture.
Disadvantages of the multi-module architecture
One notable, seeming demerit of the multi-module architecture is that it can become clumsy and confusing when the project gets really big and there are many hands-on it at the same time. This is for the structure of the project.
Even though separate modules can be picked up as jar files for other services, this is not as efficient compared to microservices options. On a lighter note, multi-module does not seem to have any disadvantage in comparison with monolith architecture
Setting up a multi-module project
Now, we can go through the process of setting up a Spring Boot multi-module project. We will mimic a small hospital management system and see how different departments will interact in terms of services.
To build this, we need some services, let’s say Doctor Service, Patient Service, Consultation Service. While these can co-exist in separate modules according to their name, we will create modules as recommended the spring way – data, service, and controller modules – all together in the same project – demohospital.
The method for creating these modules can be used to create as many as are needed in the project.
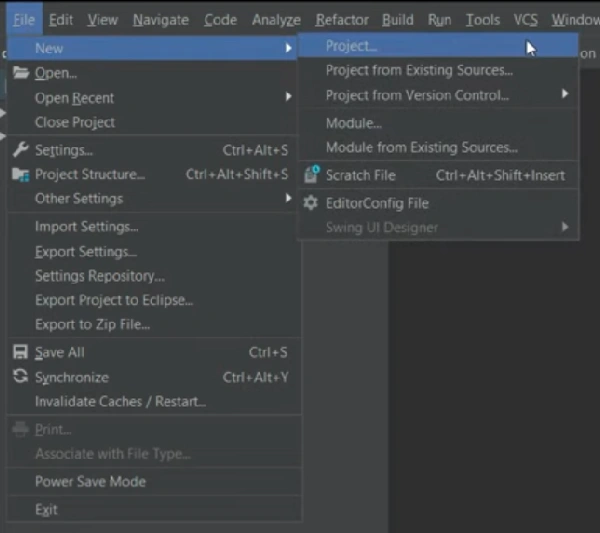
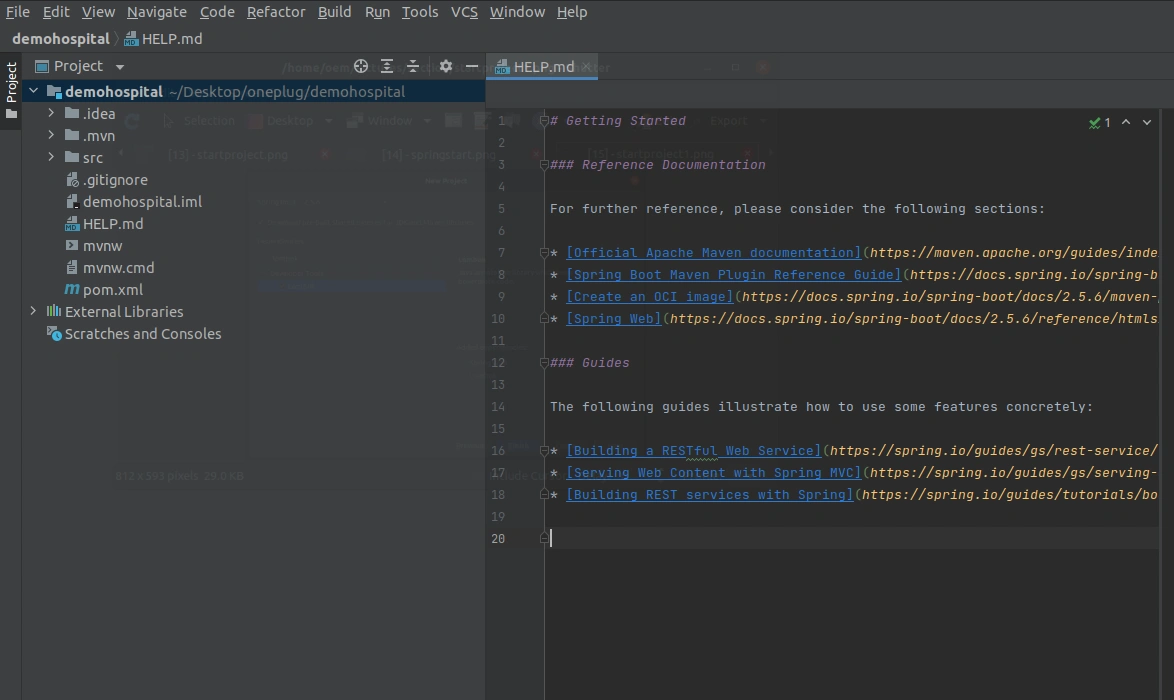
To begin, fire up your Intellij code editor. If you have a project already open, click File > New > Project and if this is your first time, click New Project.
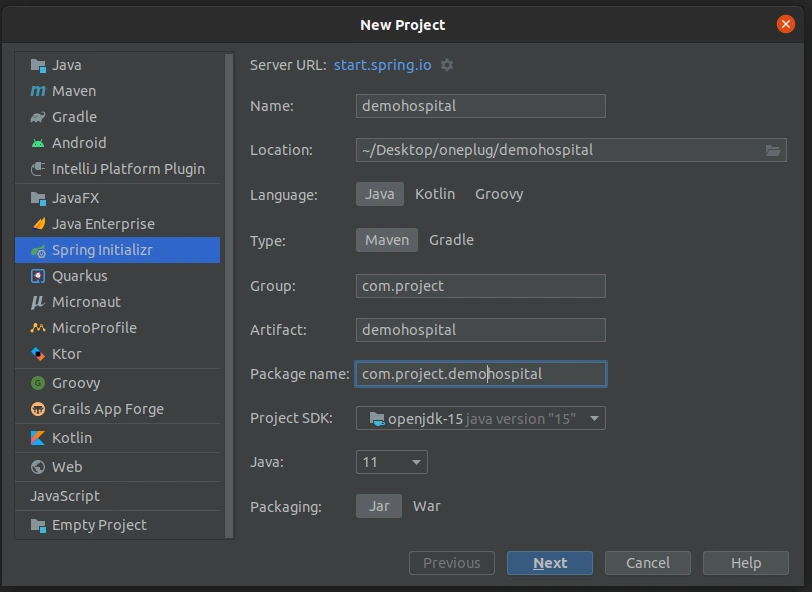
On the resulting model form, select Spring Initializr on the left side, fill in the form like detailed below, and click Next:
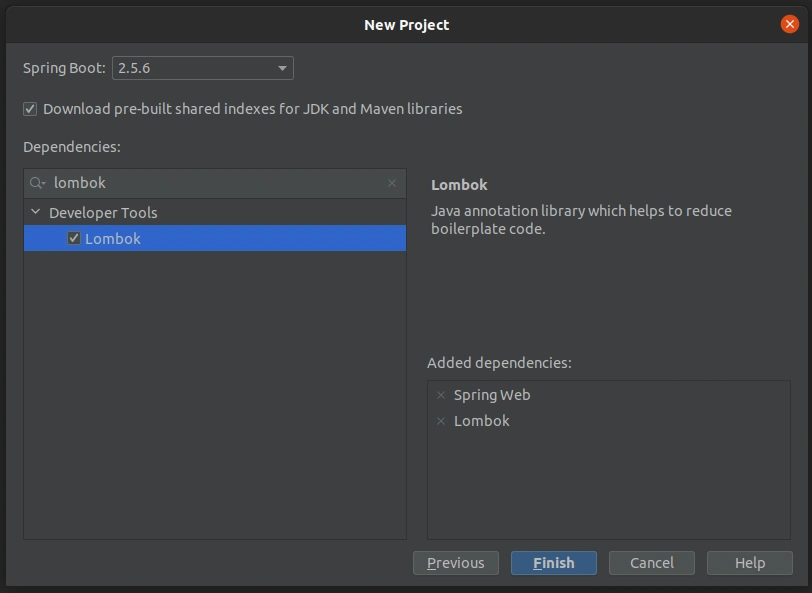
On the next page, select the dependencies you want available for all modules in the project. For this project, I have chosen the Spring Web and Lombok dependencies. You can add as many as you may need.
Note that, each module should have dependencies specific to them installed in their various
pom.xmlfiles.
Click next after selecting the dependencies. You can either choose to open on the same window, thereby replacing the present open project, or open in another window:
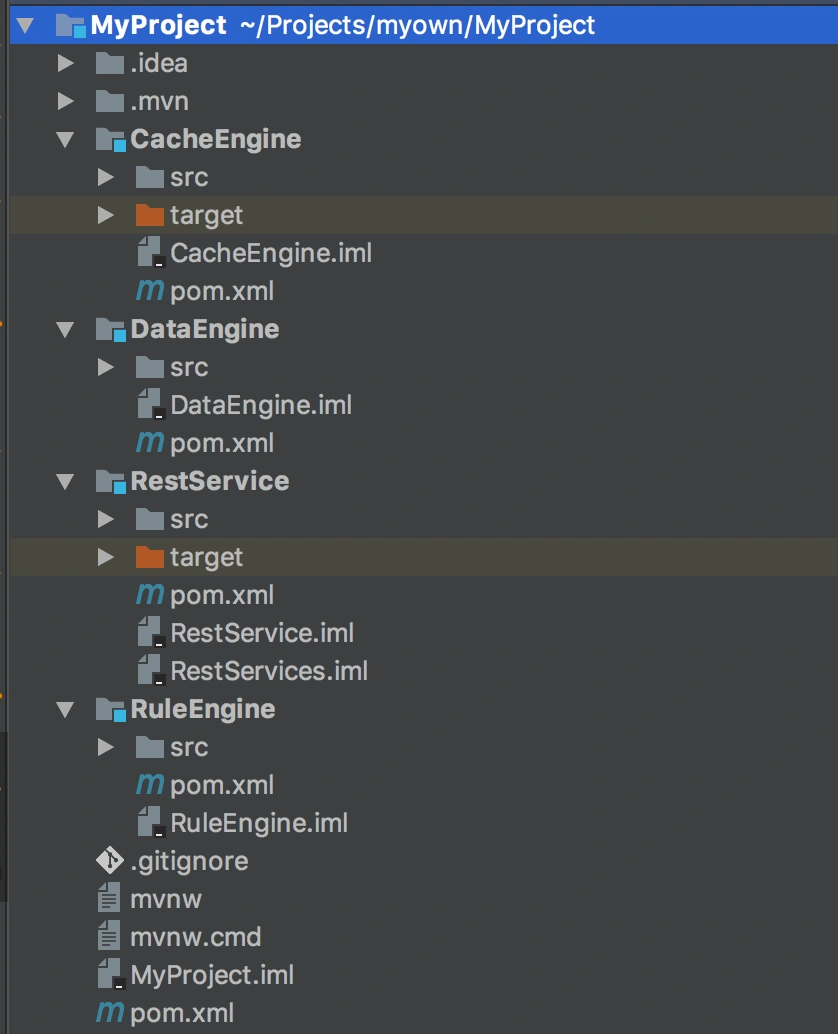
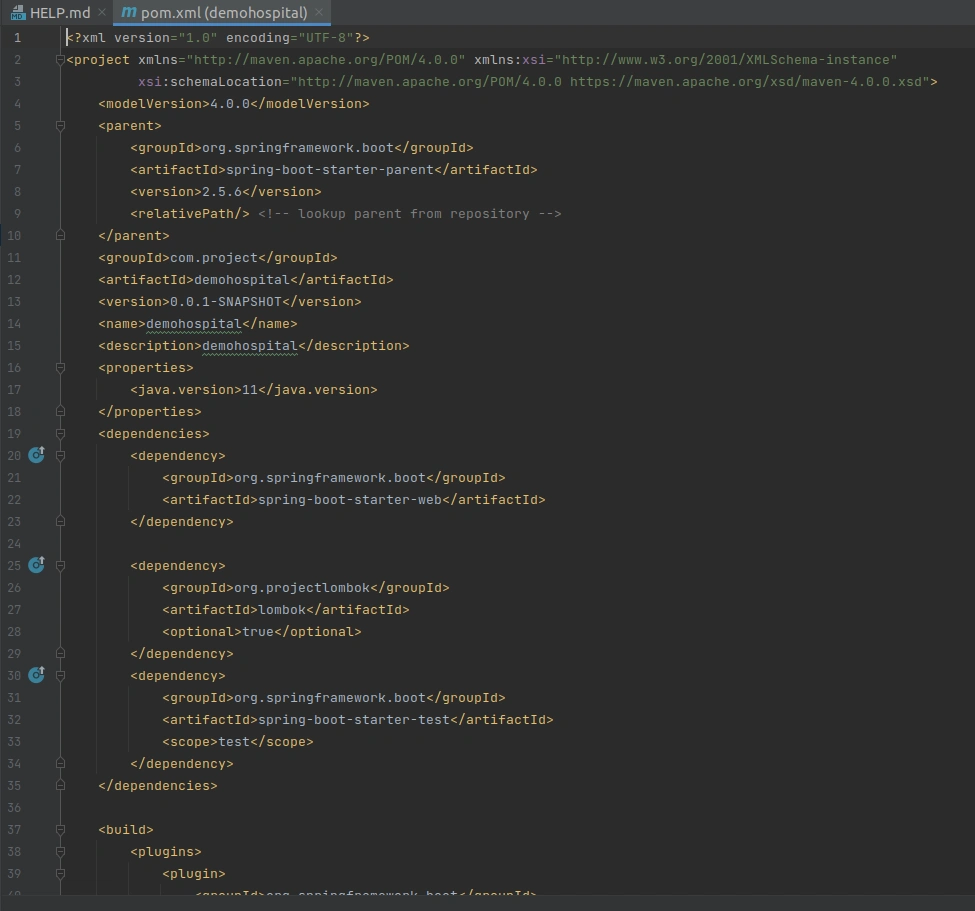
Now, we can see the project open and the dependencies we selected, displayed in the pom.xml file:
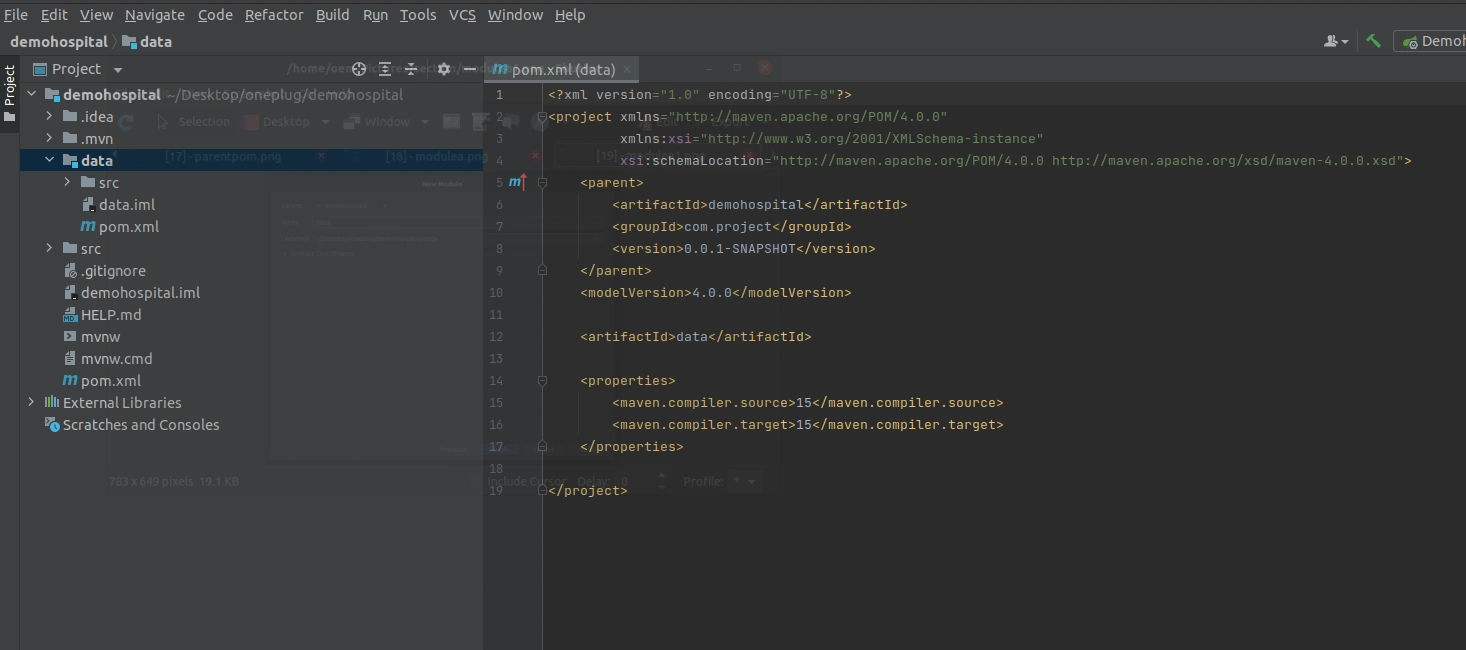
Time to create the modules. First is the data module. This module houses the entities for the project and the interfaces (JPA Repositories) that allow us to interact seamlessly without a database, MySQL in this case.
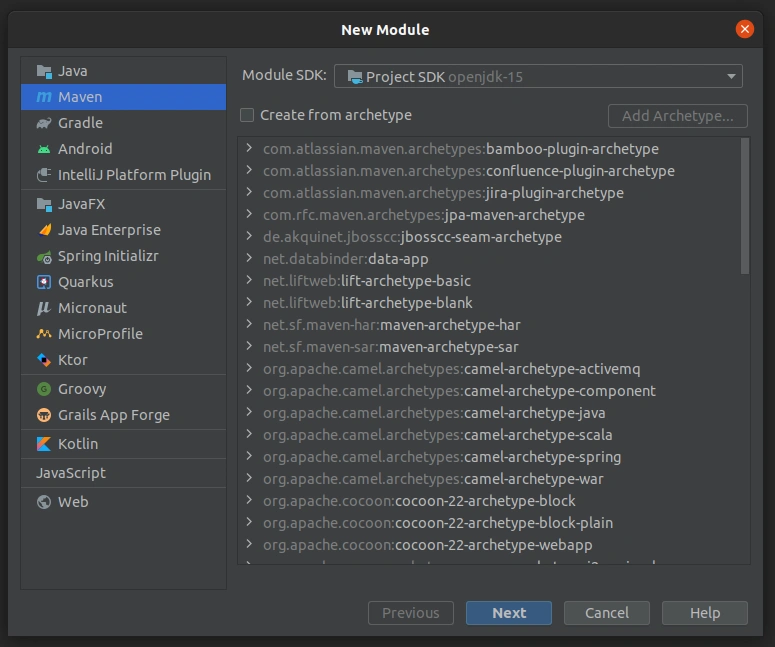
To create the first module, right-click on the project name demohospital, and click New > Module. On the resulting model form, select Maven, and click Next.
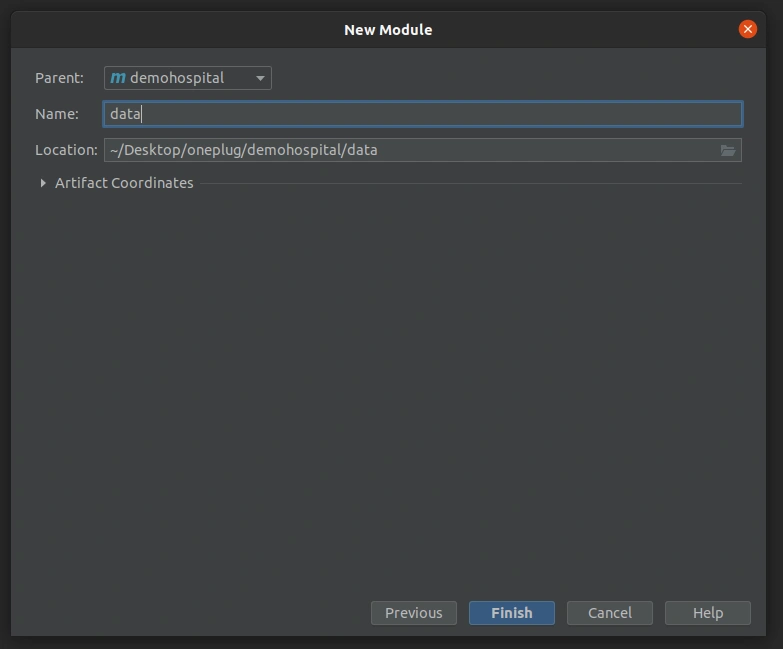
Type in a Name (this will be the name of the module – in this case, data), leave Location as is, and click Finish. Spring Boot does the rest for you.
A data module has been created by you.
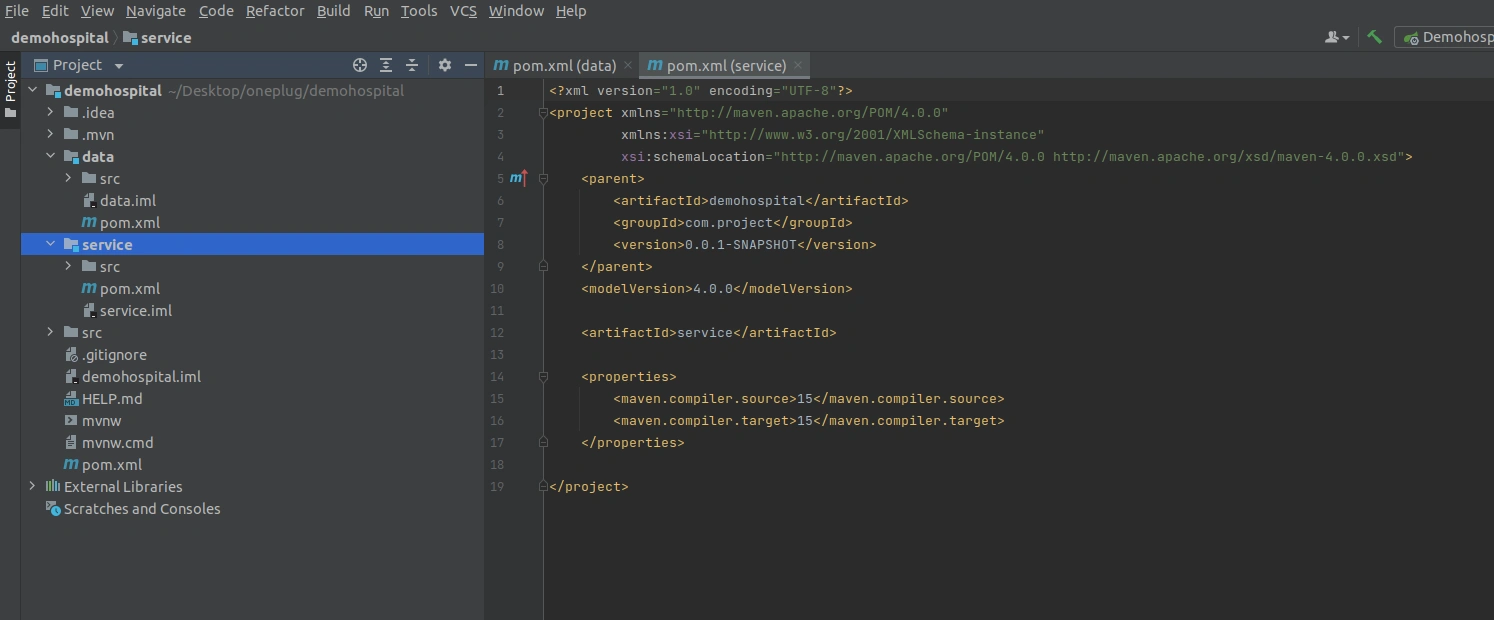
Following the same approach, let us create the Service and Controller modules:
- Right-click on the project name.
- Click
New>Module. - Select
Maven, type in a Name (this time, it will beService) - Select
Finish.
You now have a Service module.
The exact same approach for the Controller module, as shown in the picture below.
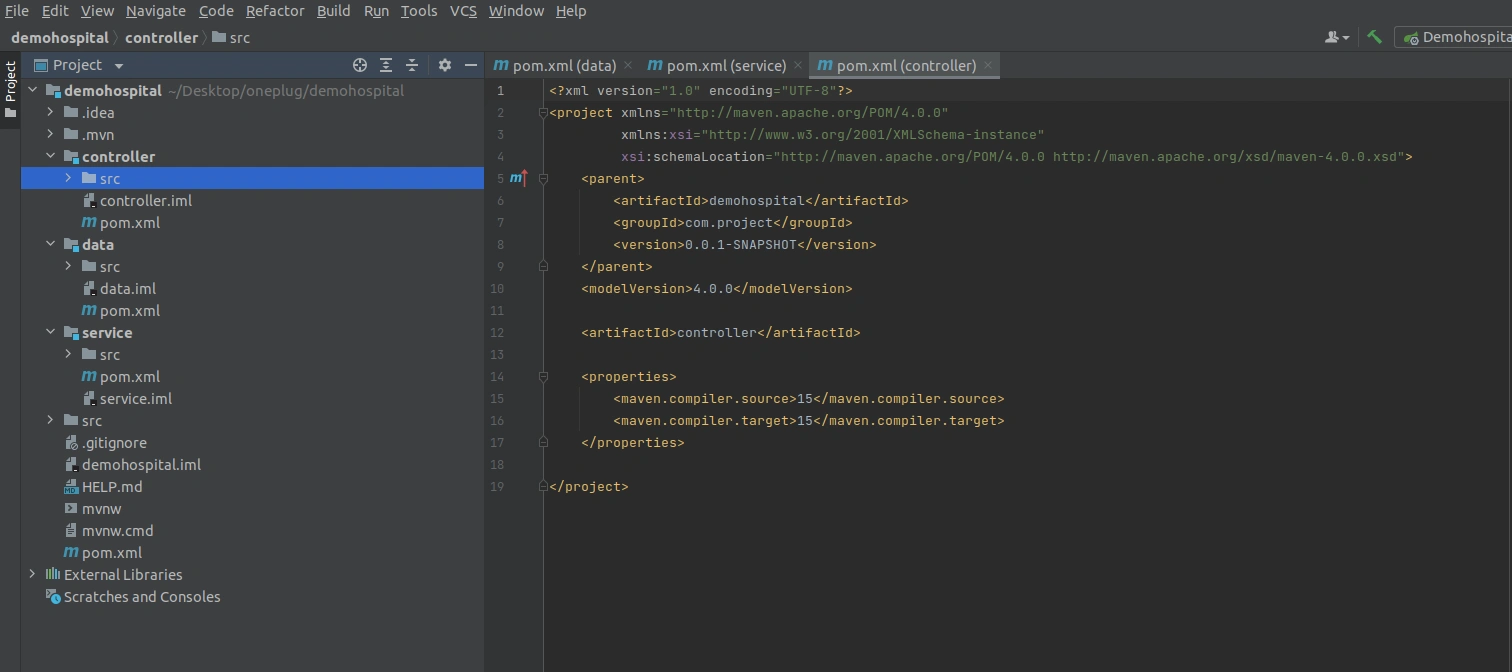
As it is now, the services needed by the hospital can be created in each of these modules and written to interact with one another.
How can we make them interact with each other?
As mentioned earlier, the data module holds the models and database operations for the entities. The services houses the implementations of these entities. Whereas the controller is the entry point into the project, where the endpoints are created.
To make the methods of a module available for one another (for instance, to make data module methods available to service module), simply paste the following in the pom.xml file of the service module and install it:
<dependency
    <groupId>project</groupId
    <artifactId>data</artifactId
    <version>0.0.1-SNAPSHOT</version>
</dependency>
Now, the service can use all the methods of data easily. You can also pass the service module into the controller module this same way. Please note that since service depends on data, data cannot depend on service or you will get a circular dependency error, which I will cover in the next article – on how to solve it.
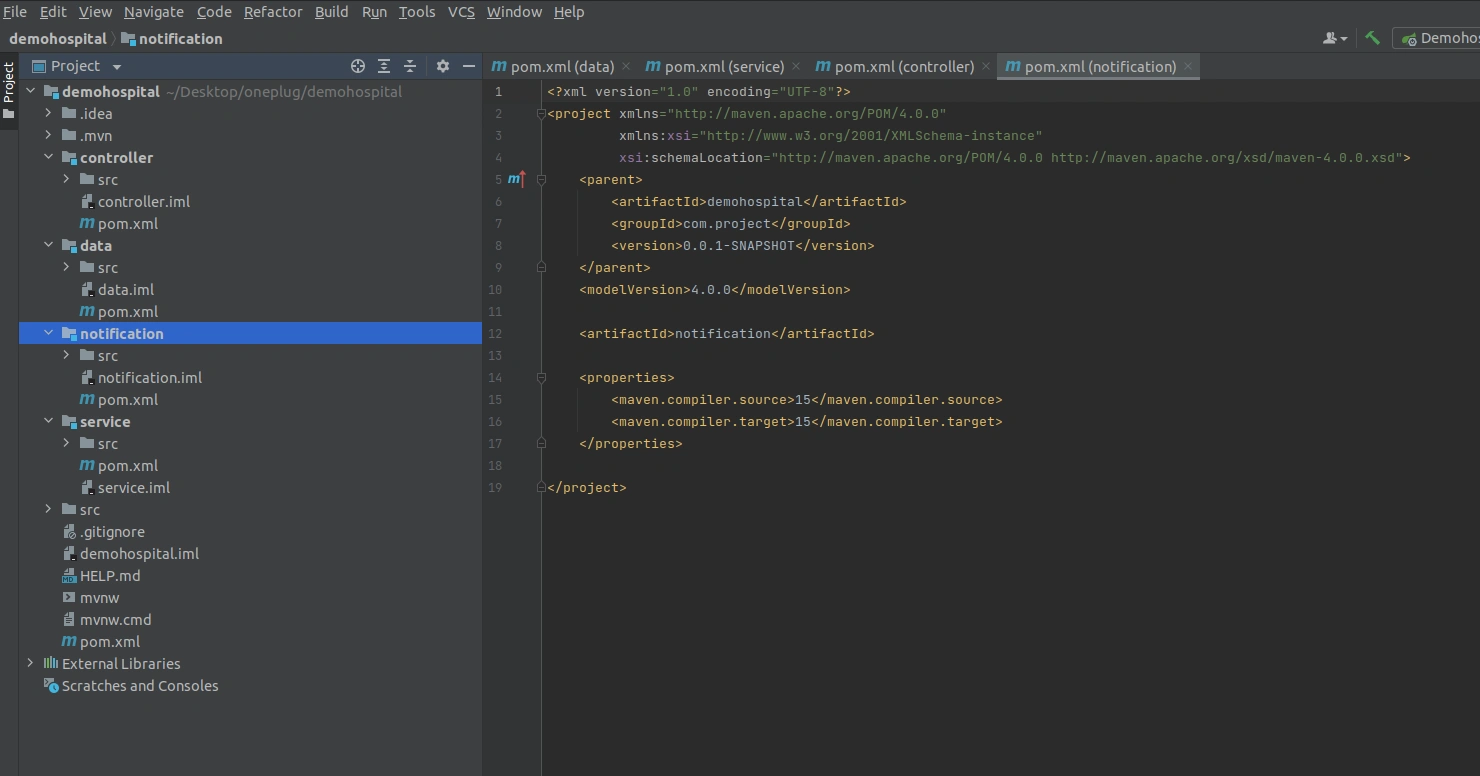
We now know how to create a multi-module project. If the hospital needed to send emails to patients and doctors, they would need a notification service. Let us create one and make it available for the service module to use.
- Right-click on the project name.
- Click
New>Module. - Select
Maven, and type in a group ID and an artifact ID (this time, it will benotification) - Select
Nextand thenFinish.
You have created the Notification module. Pass it to the service module by pasting it as a dependency in the pom.xml file of the service module.
Now, they can send emails and text messages and other notifications.
<dependency
    <groupId>project</groupId
    <artifactId>notification</artifactId
    <version>0.0.1-SNAPSHOT</version>
</dependency>
Bonus
Let’s now imagine that a Payment Service is to be implemented into the hospital management system later.
This is straightforward.
- Open the project, right-click on the project name;
hospital-project, in this case, click on theprojectand thenmodule. - Enter the details of this new module to conform with the structure we used for the existing modules in the project.
- Install it as a dependency in any or all of the other modules that need its methods and viola, you have a new module in your project.
- You can try to create a
Logistics Serviceto represent the logistics department of the hospital.

Gaining the benefits of microservices architecture from the multi-module architecture
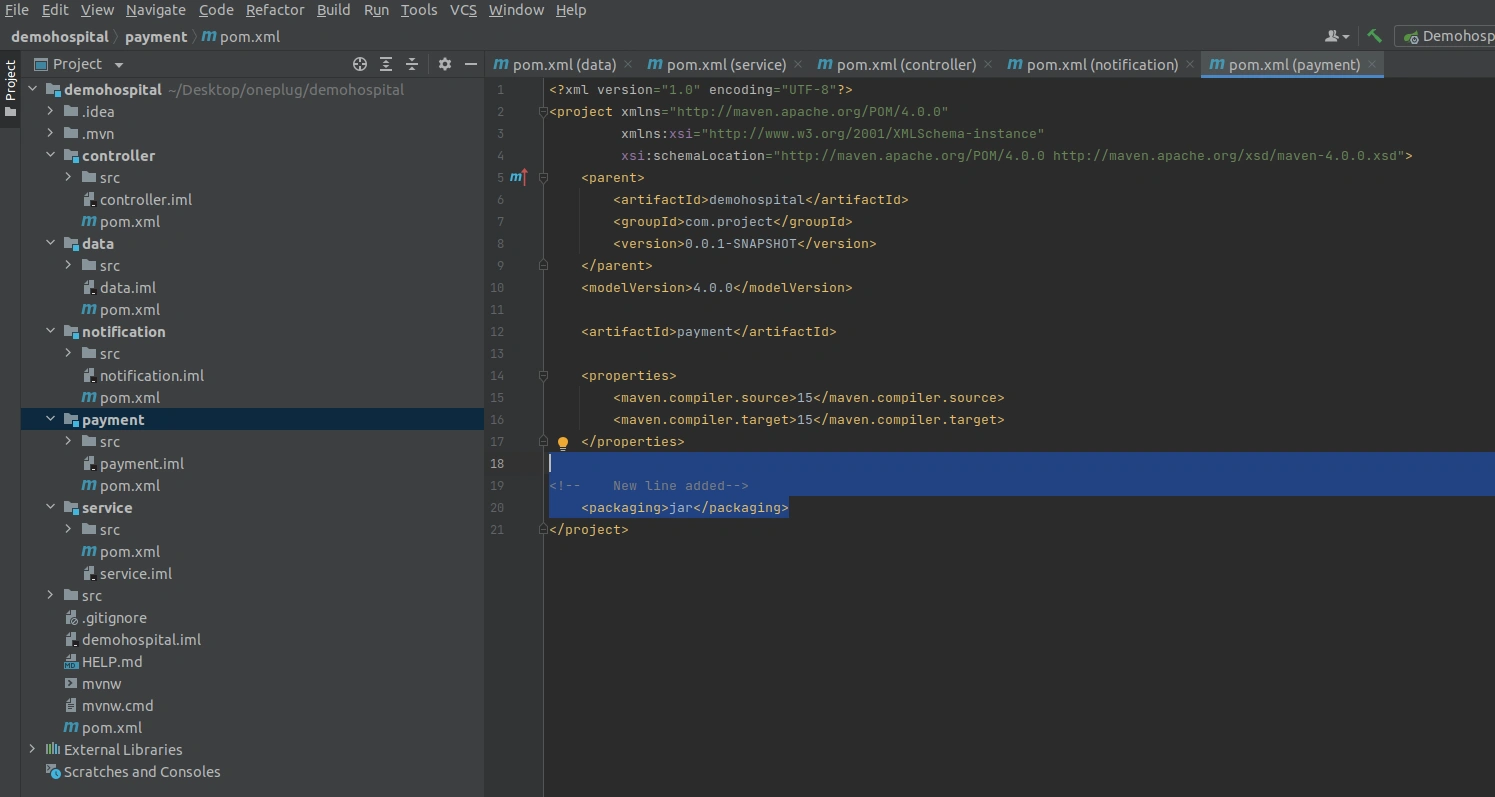
To enjoy what microservices offer while using multi-module architecture is simple. This means that you can copy out the jar file of any of the modules/services above – say Payment Service for instance – and deploy it into another entirely different project, for reuse.
All you need to do is to write <packagin>jar</packaging> in the POM file of the module you want to reuse as jar – ideally, in all the modules. Spring Boot automatically does the rest for you. Now you can reuse that module anywhere else.
One interesting thing to note is that, if there is an issue in any of the modules, you can simply go to that module, fix up the issue and rebuild it as an independent jar, without interfering with the other modules.
Conclusion
In this tutorial:
- We got a brief understanding of monolith, multi-module, and microservices project architectures are.
- We looked at the merits and demerits of the multi-module architecture for both monolith and microservices architecture.
- By using a project, we were able to set up a small multi-module project, set up modules, and pass some dependencies around.
- The bonus section required that the reader of the tutorial create a new module, using the approaches described in the tutorial.
Using the multi-module architecture is more convenient. You have separation of interests and a lot of control of the project in one place. Recognizing a system downtime and fixing it is faster, and scalability is guaranteed.
This project can be found on this Github link
Happy coding!


Comments: