


This article focuses on building a Flask application and deploying it to one of the most reliable IaaS infrastructures; the Google Compute Engine.
We will set up a virtual machine on the Google cloud console and deploy the Flask application to the setup machine. Besides, we will specify the number of instances that run our application to minimize downtime. In the end, the reader should have mastered the steps of creating and deploying a Flask application to a remote virtual machine.
Prerequisites
To follow along with this article, you need to have:
- Basic skills in working with Flask.
- Google Cloud Platform account.
What is Flask?
Flask is a Python-based back-end engine used to write server-side code in most web applications. Flask operates on the Jinja template engine, allowing programmers to write code similar to the conventional Python syntax.
According to Wikipedia, Flask was established in April 2010, and since then, most developers have adopted and worked on projects using Flask.
As a Flask enthusiast, I like developing my applications with Flask because of its lightweight and unique libraries and tools required to work.
In addition, Flask can easily use the wide range of extensions available for Python to make a very independent and reliable tech stack.
Infrastructure as a service
Infrastructure as a service is cloud-based computing, where developers get access to cloud-hosted hardware resources instead of acquiring them independently.
Unfortunately, most computing hardware is expensive to acquire, so the need to provide them over the internet.
There are several Infrastructures as a service(IaaS) providers, including Digital Ocean, Amazon Web Services, Azure, and Google Compute Engine, but we will explore Google’s in this article.
The benefit of using IaaS is resource pooling, where everyone gets access to a large pool of shared resources to which they would have otherwise not had access. In addition, with strategy, deployed systems are fault-tolerant and more users get supported.
The Google Compute Engine(GCE)
From its Wikipedia page, Google Compute Engine (GCE) is Google’s Infrastructure as a Service (IaaS) developed in June 2012. Currently, GCE runs most of Google’s applications, including Gmail, YouTube, and its search engine.
The IaaS allows one to create a virtual machine, set it up according to an application’s requirement, and host it over the internet, thereby reducing the risk of downtime that one would have exposed his hardware.
Creating a project on Google Cloud shell
Most services provided by Google are accessed using an API key that uniquely identifies one user from other users. For the same reason, we need to create a new project and have our unique API key to access the services we need from Google.
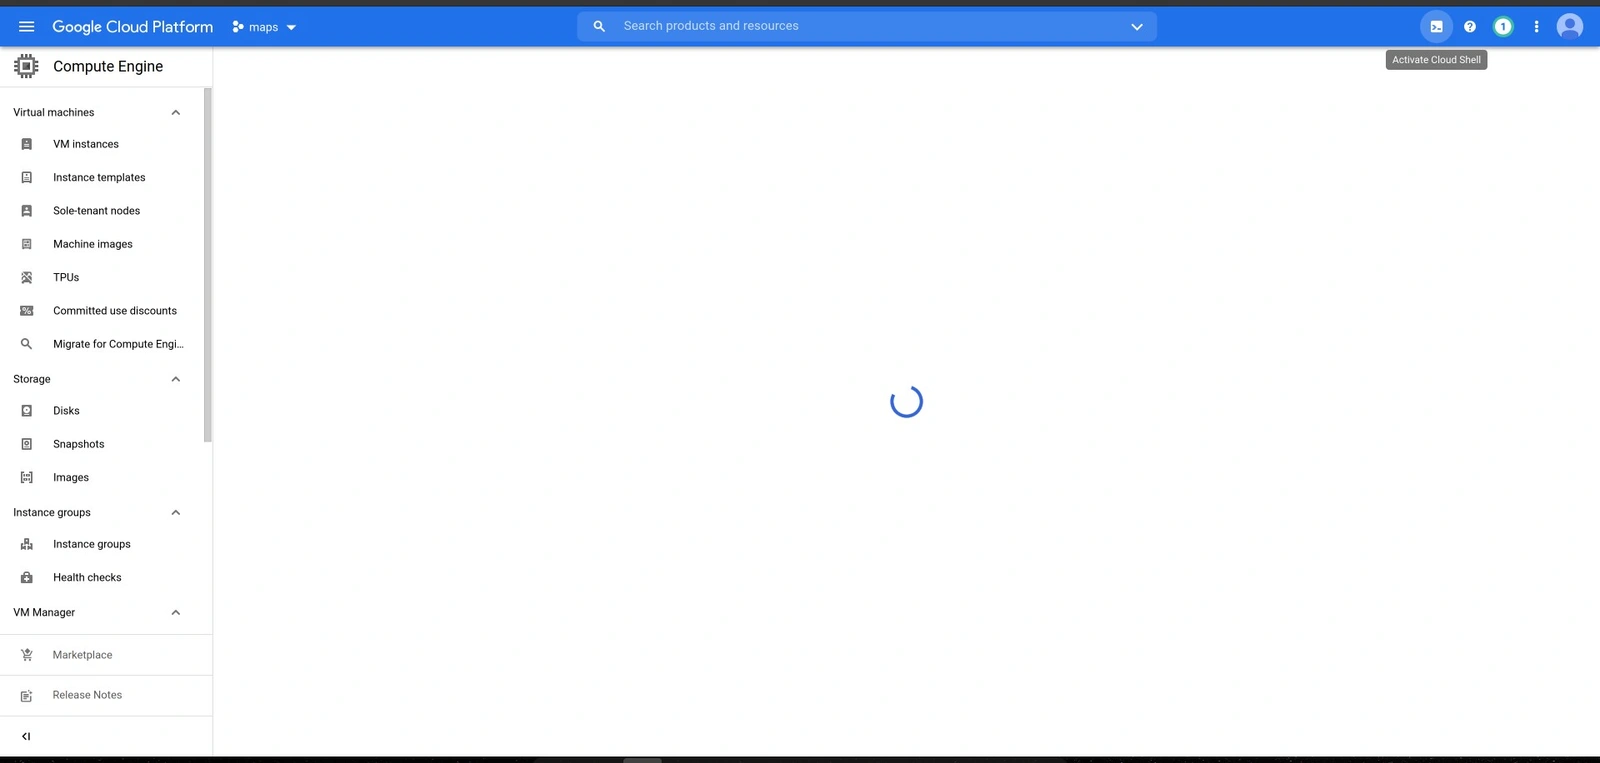
The next step is to install the Google Cloud Software Development Kit. Then, since we intend to use the gcloud command-line tool in creating and deploying the application, we need to open up the google cloud shell.
In the cloud shell terminal, run the command below to install Flask.
pip install Flask
In the following step, we need to create the application’s main code file and requirements.txt file to contain the requirements needed to run the application.
Create a file named app.py, then add the following code snippet.
from flask import Flask, render_template
import Flask
app = Flask(__name__)
@app.route('/home')

def index():
   return render_template('home.html')
if __name__ == '__main__':
   app.run(debug=True)
Conventionally, Flask looks for view files in a folder with a specific name. So we need to create a folder with the templates name and add our view files for the same reason.
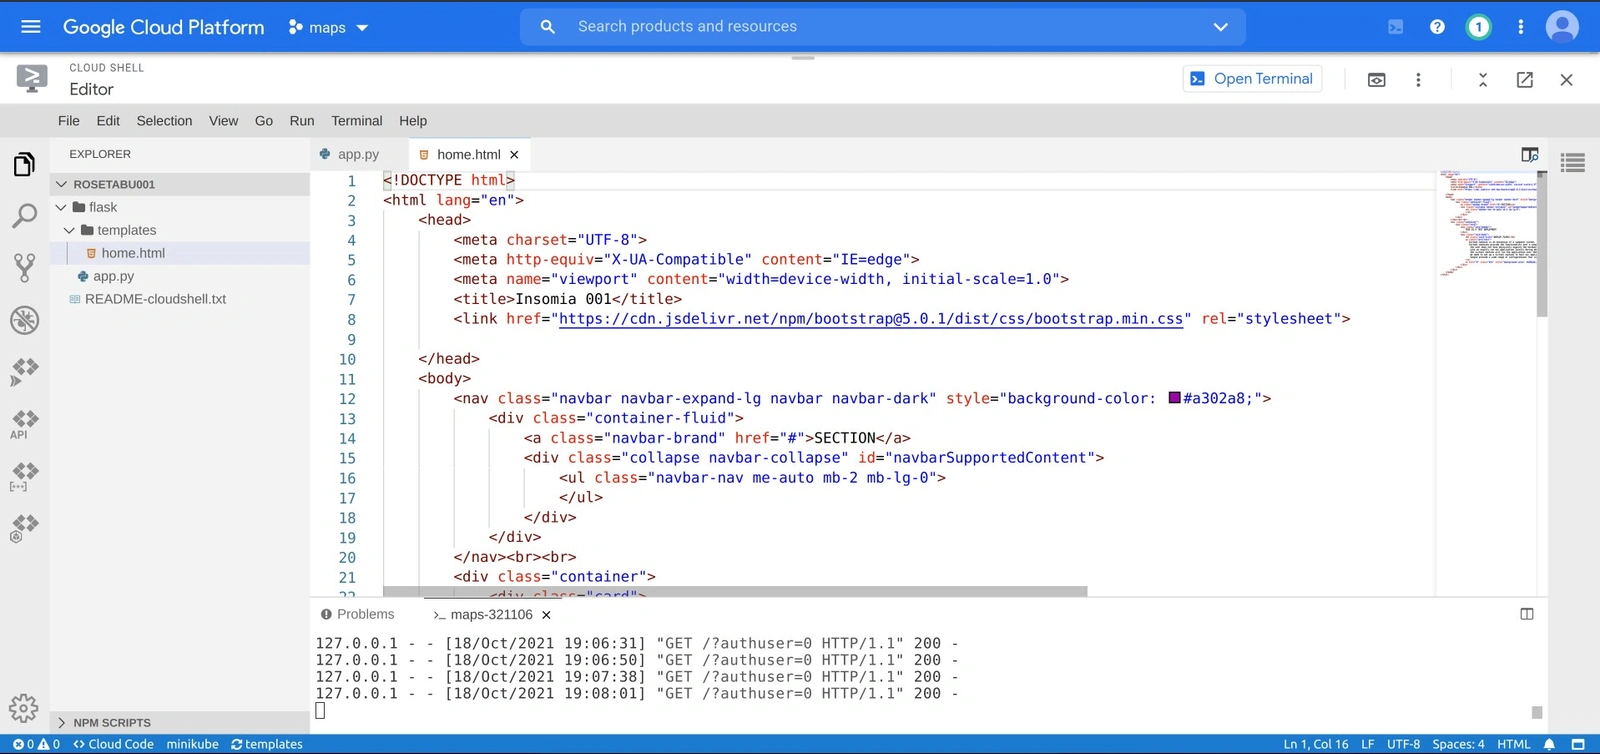
In the templates folder, create a new file and name it home.html. This file contains the code snippets rendered on the homepage of our application.
<!DOCTYPE html>
<html lang="en">
    <head>
        <meta charset="UTF-8">
        <meta http-equiv="X-UA-Compatible" content="IE=edge">
        <meta name="viewport" content="width=device-width, initial-scale=1.0">
        <title>RUNNING FLASK ON GCE</title>
        <link rel="stylesheet" href="https://maxcdn.bootstrapcdn.com/bootstrap/3.3.7/css/bootstrap.min.css">
    </head>
    <body>
        <div class="container">
            <div class="jumbotron text-center">
                <h2>FLASK APPLICATION RUNNING ON GCE</h4>
                <p>Conventionally, Flask looks for view files in a folder with specific name. For the same reason we need to create a folder with the `templates` name and add our view files. In the `templates` folder, create a new file and name it `home.html`. This file contains the code snippets rendered on the homepage of our application.
                </p>
            </div>
        </div>
    </body>
</html>
To set up the requirements that will be installed once we migrate our application to the virtual machine, create a new file called requirements.txt, then add the following code snippet.
Flask
gunicorn
Firewall rule configuration
Navigate to the networking group ⇾ VPC network ⇾ select firewall. This page lists all the firewall rules set for the current project.
In this step, we will configure a new rule that will allow traffic through port 8080. First, click the CREATE FIREWALL BUTTON then fill in the details as below.
- Name : allow-http-8080
- Targets: Specified target tags
- Target tags: http-server-8080
- Source-ip: 0.0.0.0/0
- TCP: 8080
Creating a virtual machine
A virtual machine is an emulation of a computer system. Again, virtual machines provide a computer’s functionality, but in this case, the user does not have to acquire the computer’s hardware resources physically.
Like we usually run our application locally during development, the virtual machine will run the application over the internet.
We need to set up a virtual machine to host our application and run it remotely from my endpoint. Google provides a wide range of configurations for virtual machines. We will use one of these configurations to set up a virtual machine for an application.
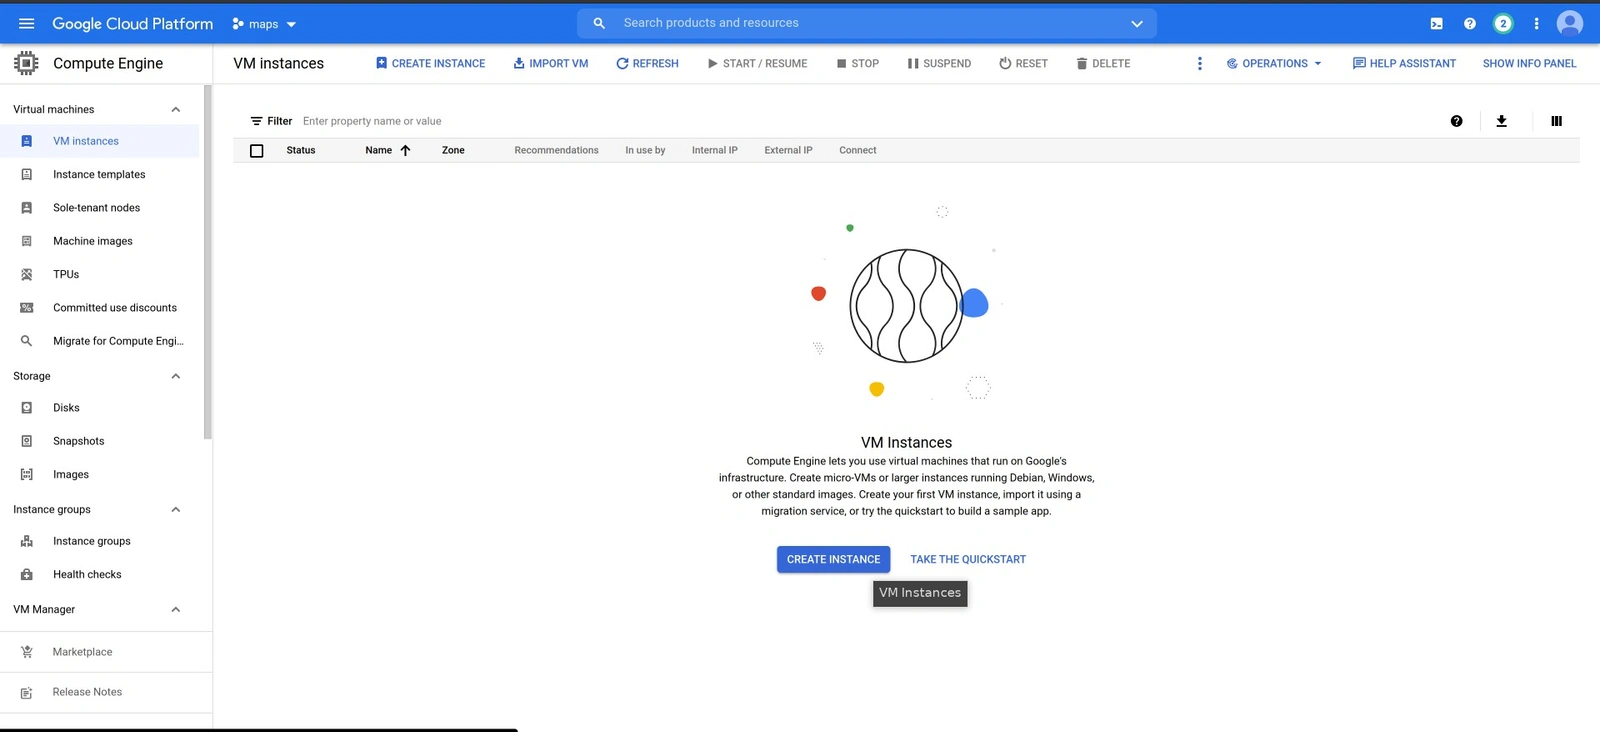
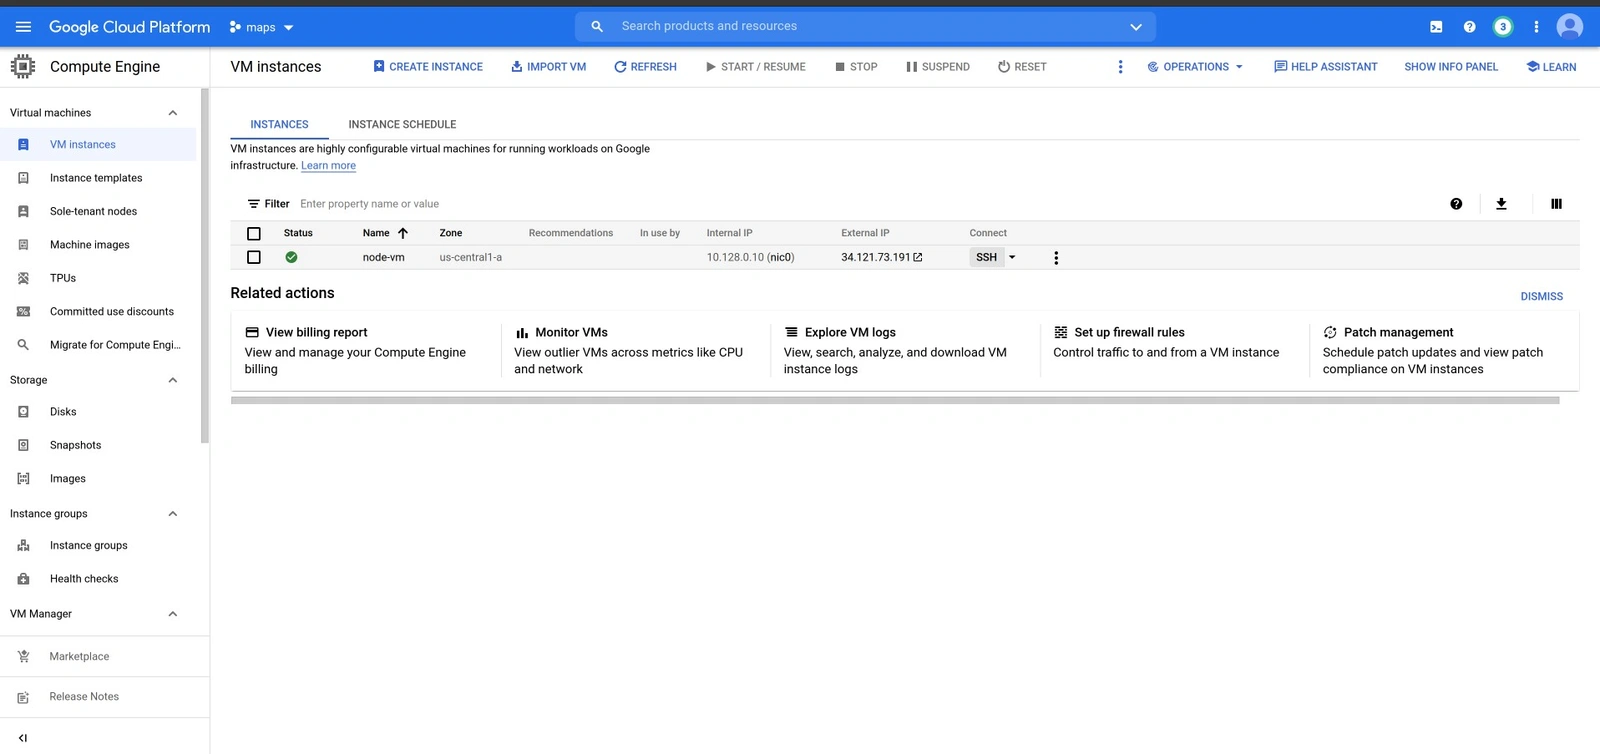
To create a virtual machine, go to the Navigation menu ⇾ Compute Engine ⇾ VM instance ⇾ Create Instance.
You can fill the fields below and ensure you expand the networking tab to fill in the name of the tag specified while creating the firewall rule on the Networking tags field.
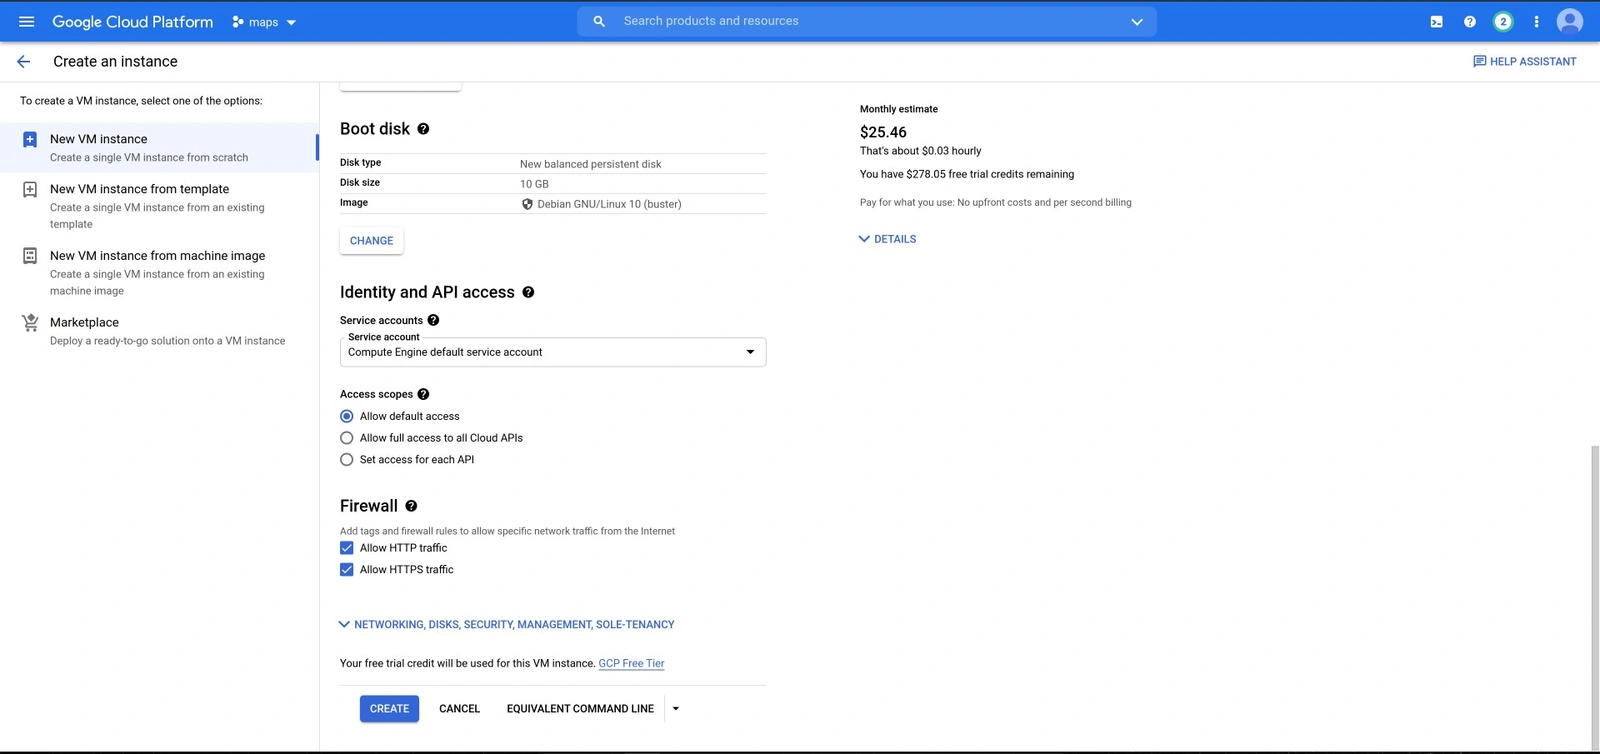
These configurations can vary from one project to another. Therefore, one can only choose to set up a VM according to the project they want to deploy.
Setting up the VM for the deployment
Setting up the virtual machine involves installing all the applications dependencies in the VM.
For instance, we are running a flask application, which means we need to have all the software, and the frameworks required to set up and run a flask application, just like we would have done when using a physical computer.
For our case, we will log in to the virtual machine, update the system, upgrade the available upgradeable dependencies, install python and the virtual environment, and fetch the latest versions of the updates.
I prefer to log in from the Google Cloud shell because that will allow us to easily copy the application we created from the shell to the virtual machine.
- Head over to the cloud shell to execute the command:
gcloud compute ssh flask-app --zone us-central1-aYou can change the zone according to the place nearest to you as specified while creating the virtual machine.
- The next step is to update the Debian package list.
sudo apt update - Upgrade the upgradable dependencies using the command:
sudo apt upgrade - Install the required dependencies using the commands:
apt-get install Python Python3-pip pip install --upgrade pip virtualenv - Log out of the virtual machine to get to the Google cloud shell using CRTL+D.
Copying files to the virtual machine
At the moment, our files are floating somewhere on the Google Cloud shell. So the most immediate thing we need to do is migrate the file from the Google Cloud shell to the newly created virtual machine.
Luckily Google provides us with a single command that recursively copies all the files from the cloud shell to the virtual machine. Thus, we only need to specify the running instance design of deployment.
In this step, we are copying all the project files to the virtual machine for deployment. Like in local machines, the virtual machine needs to be set up and have all the files we created in the cloud shell to run the application.
Next, CD in the parent directory, then copy all the application’s files to the virtual machine.
gcloud compute scp --recurse flask-app lab1: --zone us-central1-a
Deploying the application
Deployment is the final step that we need to execute for our application to run. So, we begin by login into the virtual machine and navigating to our applications folder.
In the application folder, we listed out the requirements needed in the requirement.txt file. Next, we will call pip to install the dependencies in the file then try out the application in the localhost of the virtual machine.
- Head over to the Google Cloud Shell, then
sshinto the VM using the command:gcloud compute ssh flask-app --zone us-central1-a - Change the directory to get into the applications’ folder.
cd flask-app - Install the required Flask dependencies.
pip install requirements.txt - Run the application using the command below:
set FLASK_APP='app.py'
flask run -p 5000
After successfully following the steps, you should expose the url and view the application via the browser. Further configurations could be done to map the URL to a custom domain. 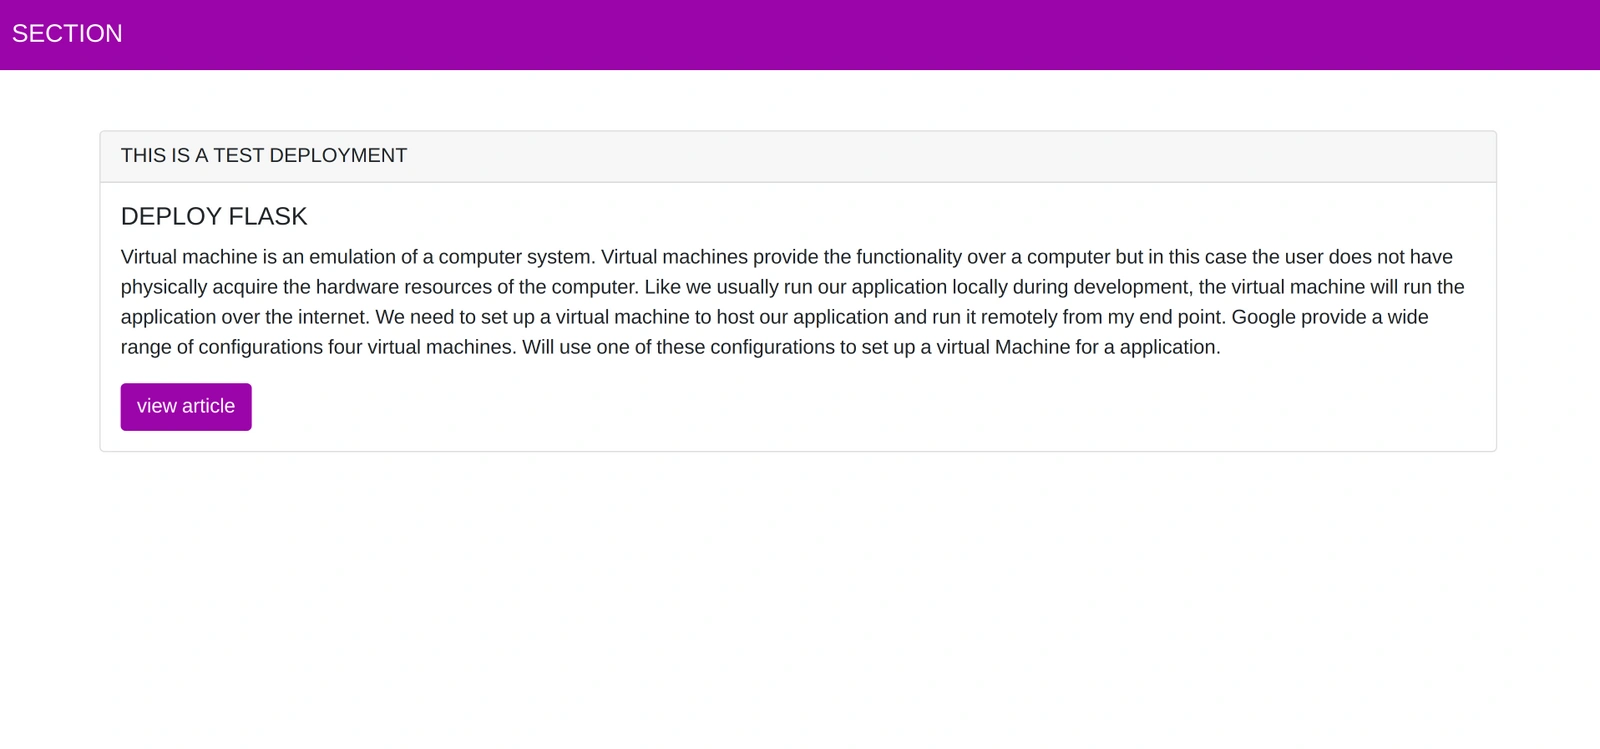
Conclusion
Most developers are using Google Compute Engine to host their applications, betting on reliability and efficiency. Using this article, knowing to deploy a Flask application to this platform is an advantage any programmer can afford.
The article discussed a stepwise process of deploying a Flask application to GCE. First, we developed an application using the Flask framework and deployed it to compute engine.
This process should give the reader an insight into infrastructure as a service and change the thinking dynamics of hosting web applications.
Further reading
This concept does not stop here. The reader should learn to develop and deploy using other tech stacks revolving around mobile and web development.
Concerning the same, I recommend these articles:


Comments: