


Golang is an open-source programming language that makes it easy to build simple, reliable, and efficient apps. It is an up-and-coming language that developed technologies like Docker and Kubernetes. Go is a compiled language. Therefore, when one writes a program, it gets compiled and generates the machine code equivalent of the program.
This tutorial will discuss Golang and help us create a REST API application using Golang and PostgreSQL database.
History of Golang
Go was developed by Google. Go is commonly known as Golang. It is refered as Golang due to its domain name golang.org, the reason being go.org was not available for use. Hence the Go language was shortened to Golang and thus the domain name golang.org.
The project of the Golang development started in 2007. Its main objective was to utilize multi-core processors to develop large distributed systems and highly scalable network servers.
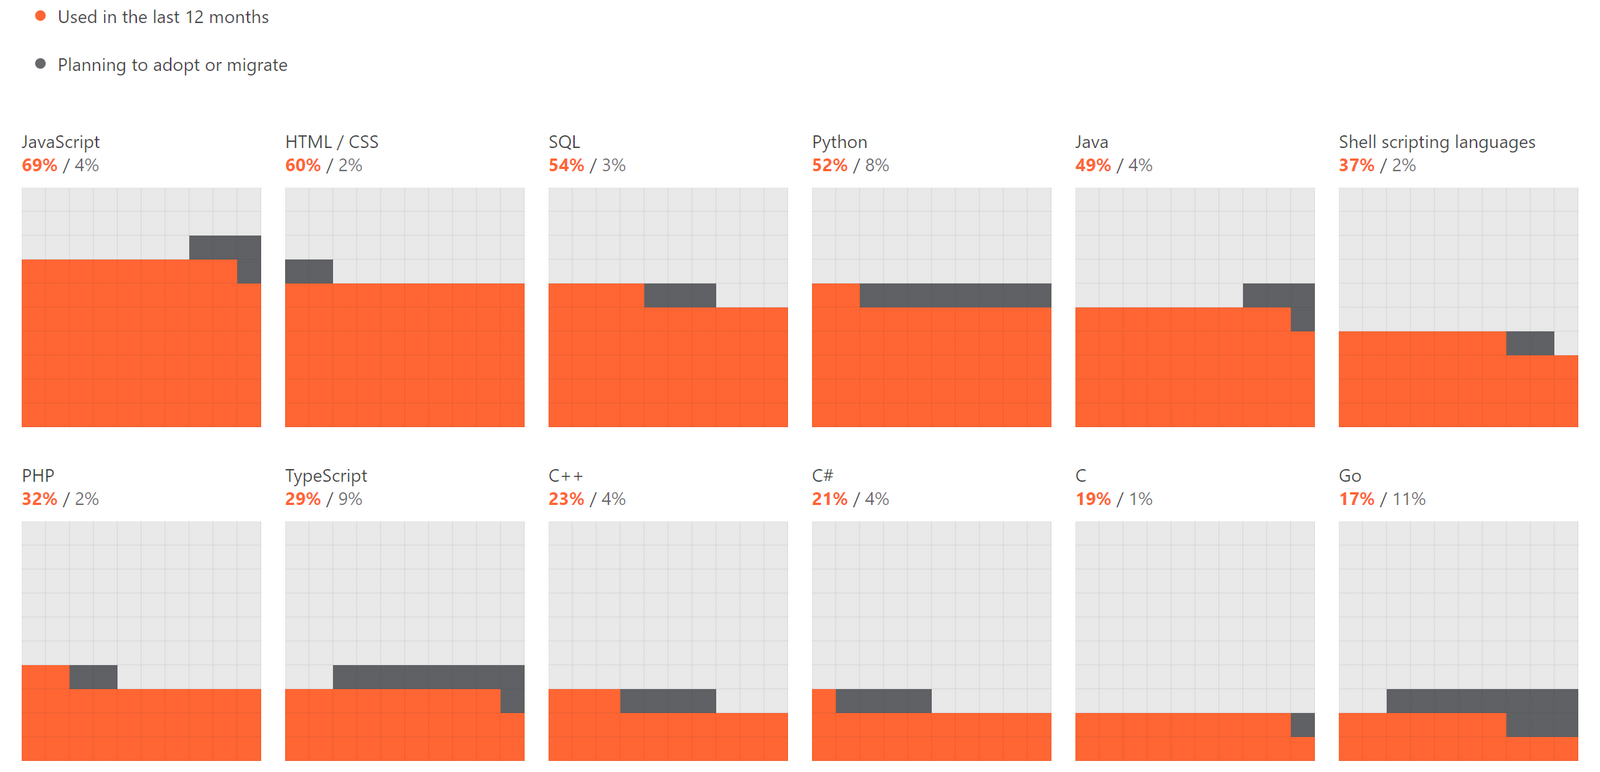
The Golang project was made open source in 2009, and its very first initial version, 1.0, was released in 2012. The Google Jetbrain team refers to Go as the most promising programming language.
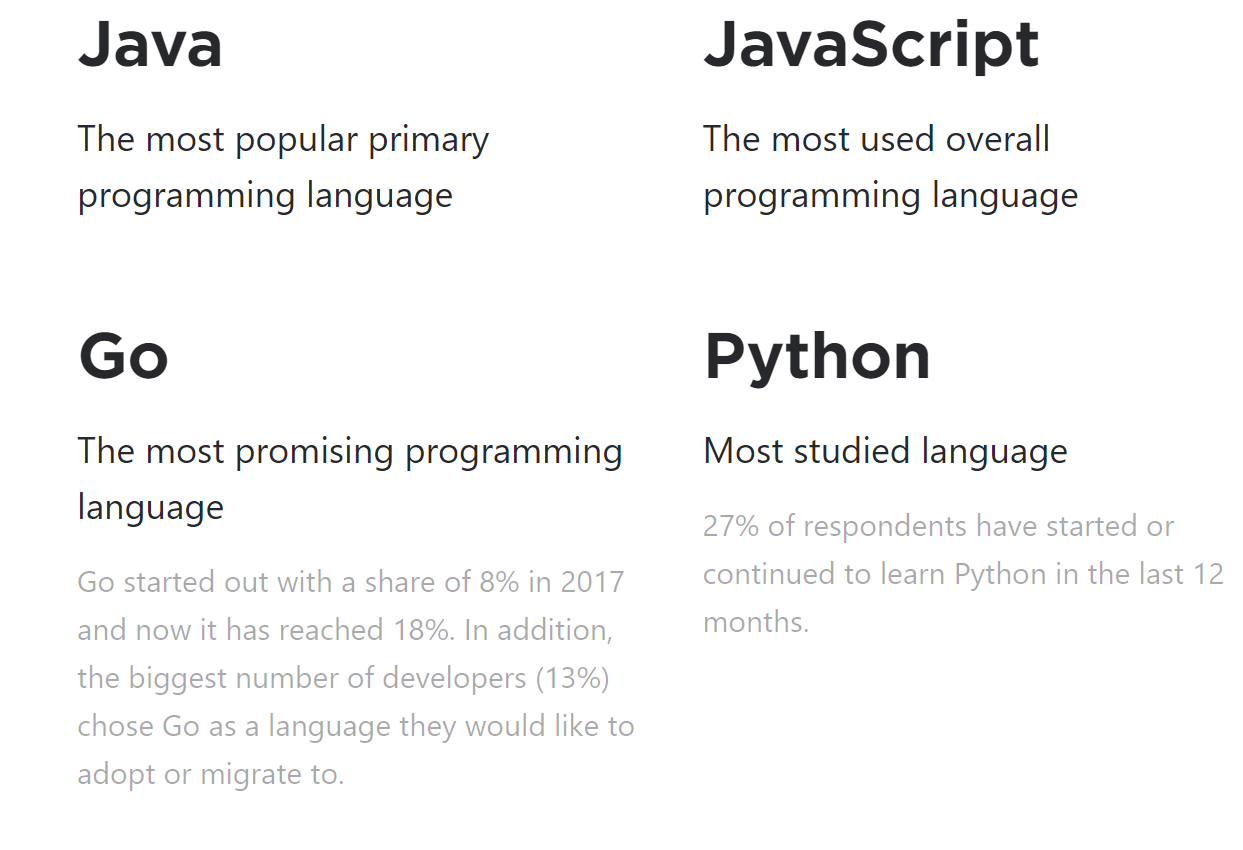
According to the JetBrains 2021 Developer Ecosystem survey, Go was classified as one of the first languages. It was also one of the top programming languages that developers are planning to adopt or migrate to.
The survey aimed to map the landscape of the developer community. Check out the survey to learn more on the 2021 survey report.
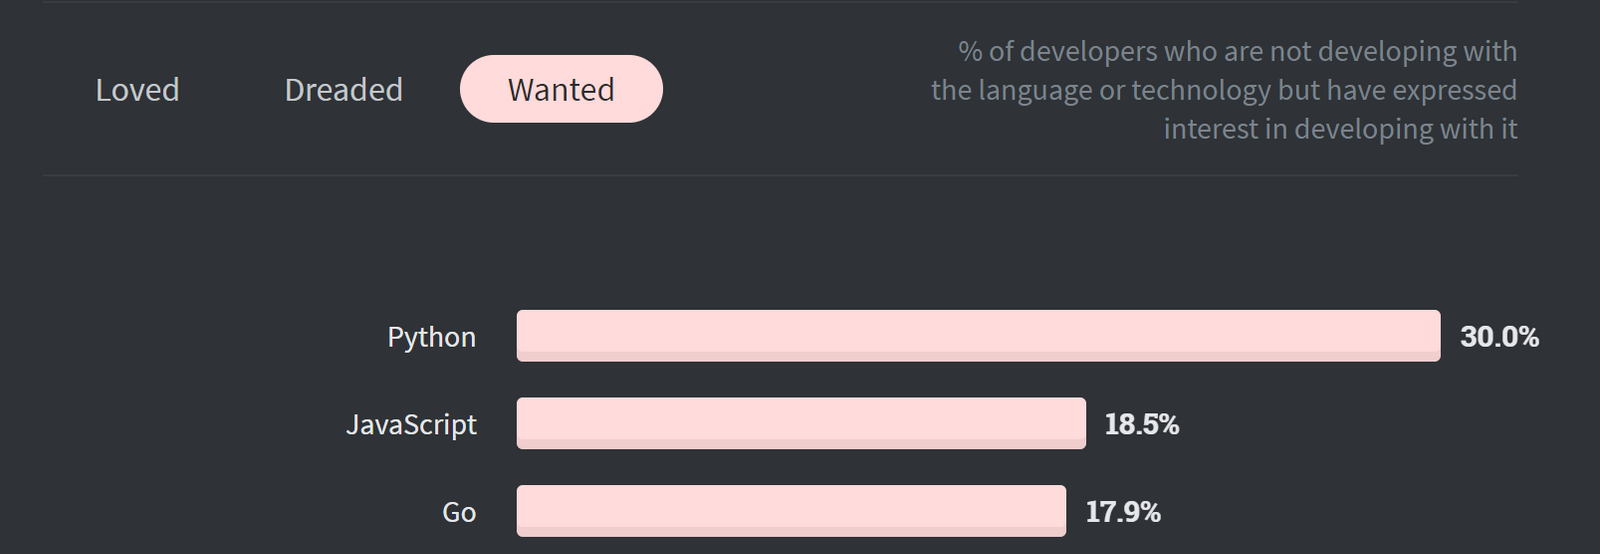
Also, on a yearly survey done by stack overflow, Go was one of the topmost wanted languages developers want to learn.
Getting started with Go
To get started with Go, you need to get Go runtime installed on your computer.
Once installed, run the go version command in your terminal, and the go version installed in your computer will be printed out. This way, you will know that Go is correctly installed.
One thing about Go is that it is very opinionated on how you arrange and set up the project folder and file structure. This means you need to arrange your directory hierarchy well to tun Go code. So check this guide and learn how to arrange your Go workflow.
Here, we are going to use Visual studio code to interact with go. So download and install it. After that, open Visual studio code and download the Go extension. This will help us write and execute Go as well as providing IntelliSense for Go code.

We will create a simple Go application (Hello world!) and see how Go works. So create a project folder, open it using VisualStudio code, and create an index.go file.
- The first thing to do when we create an application is to define a package. All go files are created inside a package. By default, the package is always
package main. Thus, every file will have its package, which acts as a module for that file and can be imported. - The next thing is to import modules (this could be local modules or Go modules). In this case, we would use the
fmtmodule. Thefmtmodule allows you to print messages and text to the console. - You need an entry point for your application. This is a Go primary function that helps you to execute your code. The function will be automatically called when you build and run the Go program.
Now when you write the hello world program, you will have the following fundamental properties.
// Go package
package main

/// Go fmt import
import "fmt"

// Go main function
func main() {
    fmt.Println("Hello World!")
}
Navigate to the project directory to run the code, then execute the command go run <file name or file path for nested folders> in your preferred terminal.
Build a REST API application using Golang and PostgreSQL database
Golang is used on the server-side to create a backend for the web application. Therefore we can use it to create web-based APIs. So let us see how we can build a REST API application using Golang and PostgreSQL databases.
Install PostgreSQL database setup
Since we will use PostgreSQL as our database, download and install PostgreSQL into your local computer.
Then, we will create a database, add a table and some records to it. Here are some sample queries. First, create a movies database in your PostgreSQL pgAdmin.
To create a table, use the query below:
CREATE TABLE movies (
    id SERIAL,
    movieID varchar(50) NOT NULL,
    movieName varchar(50) NOT NULL,
    PRIMARY KEY (id)
)
To add some data to the table, use:
INSERT INTO movies (
    movieID,
    movieName
)
VALUES
    ('1', 'movie3'),
    ('2 ', 'movie2'),
    ('3', 'movie1');
Add the package main
Create a file at the root of your project directory and name it index.go. As we said, we need to define a package for the Go file. Since this will be the main file we have, we add the package main.
package main
Import the necessary packages
import (
    "database/sql"
    "encoding/json"
    "fmt"
    "log"
    "net/http"

    "github.com/gorilla/mux"
    _ "github.com/lib/pq"
)
fmtandlog– for logging errors and printing messagingencoding/json– Go core package for handling JSON data.database/sql– Go core package for handling SQL-based database communication.net/http– a Go HTTP package for handling HTTP requesting when creating GO APIs[mux](github.com/gorilla/mux)– for URL matcher and routing. It helps in implementing request routers and match each incoming request with its matching handler.[pq](github.com/lib/pq)– a Go PostgreSQL driver for handling the database/SQL package.
Here we have two third-party libraries. To use them, we need to install them so that our app can access and use them.
First, run go mod init example.com/m. This will generate a go.mod file that saves the third-party libraries we require. To install mux run go get github.com/gorilla/mux. To install pq run go get github.com/lib/pq.
Add PostgreSQL database connection parameters
To communicate to a SQL database such as PostgreSQL, we need to add database parameters to help us access and manipulate data. This includes the database user (by default, this should be `Postgres), the password set when installing PostgreSQL, and a database name you want to use.
const (
    DB_USER     = "postgres"
    DB_PASSWORD = "12345678"
    DB_NAME     = "movies"
)

// DB set up
func setupDB() *sql.DB {
    dbinfo := fmt.Sprintf("user=%s password=%s dbname=%s sslmode=disable", DB_USER, DB_PASSWORD, DB_NAME)
    db, err := sql.Open("postgres", dbinfo)

    checkErr(err)

    return DB
}
Add JSON structs
A struct is like a class. It is used for object-oriented programming in Golang, which can have properties and methods. Structs work similarly to an ES6 class in JavaScript and classes in Java and C sharp.
For example, the struct Movie will define the JSON fields that we want to fetch. The struct JsonResponse will display the JSON response once the data is fetched.
type Movie struct {
    MovieID   string `json:"movieid"`
    MovieName string `json:"moviename"`
}

type JsonResponse struct {
    Type    string `json:"type"`
    Data    []Movie `json:"data"`
    Message string `json:"message"`
}
Add Go main function
When the main function gets executed, we also need to run some endpoints that will help us get into the server through an HTTP request. Here, each endpoint will execute a method. When that endpoint is called, the method will be executed by calling the function that defines the necessary parameters for a particular method.
So first, initialize the mux router, then add the router handlers to establish the endpoints for our API. Then, add a port to serve the application.
// Main function
func main() {

    // Init the mux router
    router := mux.NewRouter()

// Route handles & endpoints

    // Get all movies
    router.HandleFunc("/movies/", GetMovies).Methods("GET")

    // Create a movie
    router.HandleFunc("/movies/", CreateMovie).Methods("POST")

    // Delete a specific movie by the movieID
    router.HandleFunc("/movies/{movieid}", DeleteMovie).Methods("DELETE")

    // Delete all movies
    router.HandleFunc("/movies/", DeleteMovies).Methods("DELETE")

    // serve the app
    fmt.Println("Server at 8080")
    log.Fatal(http.ListenAndServe(":8000", router))
}
Function for handling messages
When print messages, we will be adding a function that will help us handle which message to log depending on what part of the application we will be interacting with.
// Function for handling messages
func printMessage(message string) {
    fmt.Println("")
    fmt.Println(message)
    fmt.Println("")
}
Function for handling errors
To track any error that may occur while executing the application, we are adding a function that will check and log that error.
// Function for handling errors
func checkErr(err error) {
    if err != nil {
        panic(err)
    }
}
Fetch all records
// Get all movies

// response and request handlers
func GetMovies(w http.ResponseWriter, r *http.Request) {
    db := setupDB()

    printMessage("Getting movies...")

    // Get all movies from movies table that don't have movieID = "1"
    rows, err := db.Query("SELECT * FROM movies")

    // check errors
    checkErr(err)

    // var response []JsonResponse
    var movies []Movie

    // Foreach movie
    for rows.Next() {
        var id int
        var movieID string
        var movieName string

        err = rows.Scan(&id, &movieID, &movieName)

        // check errors
        checkErr(err)

        movies = append(movies, Movie{MovieID: movieID, MovieName: movieName})
    }

    var response = JsonResponse{Type: "success", Data: movies}

    json.NewEncoder(w).Encode(response)
}
Insert a record into the database
// Create a movie

// response and request handlers
func CreateMovie(w http.ResponseWriter, r *http.Request) {
    movieID := r.FormValue("movieid")
    movieName := r.FormValue("moviename")

    var response = JsonResponse{}

    if movieID == "" || movieName == "" {
        response = JsonResponse{Type: "error", Message: "You are missing movieID or movieName parameter."}
    } else {
        db := setupDB()

        printMessage("Inserting movie into DB")

        fmt.Println("Inserting new movie with ID: " + movieID + " and name: " + movieName)

        var lastInsertID int
    err := db.QueryRow("INSERT INTO movies(movieID, movieName) VALUES($1, $2) returning id;", movieID, movieName).Scan(&lastInsertID)

    // check errors
    checkErr(err)

    response = JsonResponse{Type: "success", Message: "The movie has been inserted successfully!"}
    }

    json.NewEncoder(w).Encode(response)
}
Delete a single record
// Delete a movie

// response and request handlers
func DeleteMovie(w http.ResponseWriter, r *http.Request) {
    params := mux.Vars(r)

    movieID := params["movieid"]

    var response = JsonResponse{}

    if movieID == "" {
        response = JsonResponse{Type: "error", Message: "You are missing movieID parameter."}
    } else {
        db := setupDB()

        printMessage("Deleting movie from DB")

        _, err := db.Exec("DELETE FROM movies where movieID = $1", movieID)

        // check errors
        checkErr(err)

        response = JsonResponse{Type: "success", Message: "The movie has been deleted successfully!"}
    }

    json.NewEncoder(w).Encode(response)
}
Delete all records
// Delete all movies

// response and request handlers
func DeleteMovies(w http.ResponseWriter, r *http.Request) {
    db := setupDB()

    printMessage("Deleting all movies...")

    _, err := db.Exec("DELETE FROM movies")

    // check errors
    checkErr(err)

    printMessage("All movies have been deleted successfully!")

    var response = JsonResponse{Type: "success", Message: "All movies have been deleted successfully!"}

    json.NewEncoder(w).Encode(response)
}
Testing
Once done with the above, we can now run and test this app. To run it, open the terminal and change the directory to the project directory and run go run index.go. This will successfully start the app and serve it so that we can access it.
To start testing, use postman and start sending requests to the respective endpoints.
Some pros and cons of using Golang
- Go is made to be compatible with large enterprises. It has the ability to handle a large amount of data processing. Therefore it is a good choice if the application is progressively increasing the amount of data to process.
- Go processes data with low latency. This means you don’t have to worry about the response time between when a user requests some data and when that data is served to the user.
- Well-established concurrency and multi-threading support. Go concurrency is inbuilt; thus, compilation and execution are done faster.
- Go focuses a lot on the efficiency of the application. It is very minimalistic. It has a small code base with no generics templates and separate runtime libraries. Thus when compiled, the binary becomes smaller, making Golang fast to write, compile and execute.
- Learning curve. Go is a combination of low-level languages such as C and modern languages such as Python. This makes it easier to learn if you have previously learned another language before. Also, like Typescipt go supports structural and static typing. You can spot errors before compilation; hence, basics can be learned quickly, making it faster to learn.
- It has no GUI library. Thus you’ll need to connect the library instead of using native solutions available in languages such as Python or java.
- Go is still a young language. Go doesn’t have the maturity and user experience that many other established languages such as Java and Python have. However, they have substantial built-in code and many libraries constantly created and maintained by different open-source community developers. The fact that it is still young means that the job market for Go programmers isn’t extensive yet.
Conclusion
Go is a fantastic and quite elegant language. Go aims to speed the efficiency of low-level languages such as C. Go shines most with its ability to utilize multi-core processing, which ensures low memory usage and low GPU power.
Happy coding!


Comments: