


Firebase is a backend data storage platform provided by Google which provides a wide range of data storage services to help build applications seamlessly. It is an online NoSQL database, which stores data in JSON-like format.
Why Firebase?
Firebase manages data in real-time and can also be used in an application that is not managing large amounts of data. Some of the benefits of using Firebase are:
- Easy Setup
- Google Analytics
- Hosting
- Multi-platform Authentication
In this tutorial, we will be looking at how to use the Firebase real-time database in Django by building a simple project.
Prerequisites
To follow along with this tutorial, you will need the following:
- Python3 installed on your machine.
- Little understanding of Django
Creating Firebase project
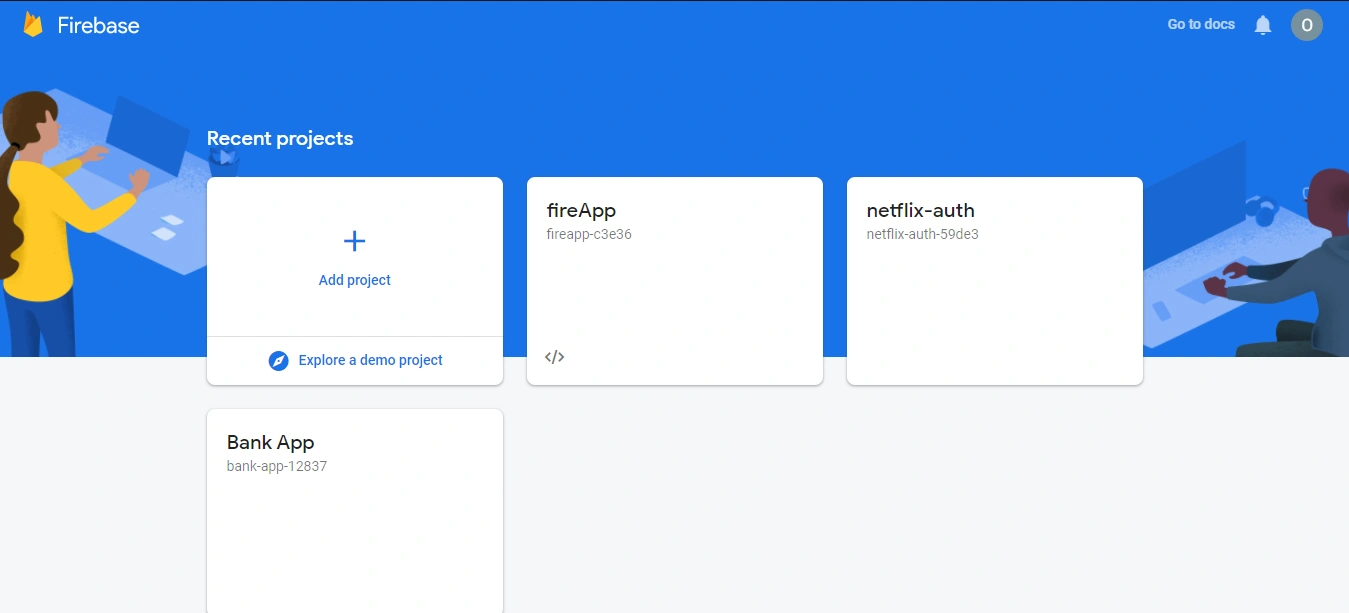
To create a Firebase project, we need to head over to the Firebase console. Next, we click Add project
We are asked to give our project a name

After typing in our project name, we click on the continue button, which takes us to the screen asking if we want google analytics in our project. We do not need analytics in our project, and you can click the toggle button or click continue.
Next, we need to select our account and click on the create project button. This takes a few seconds to create.
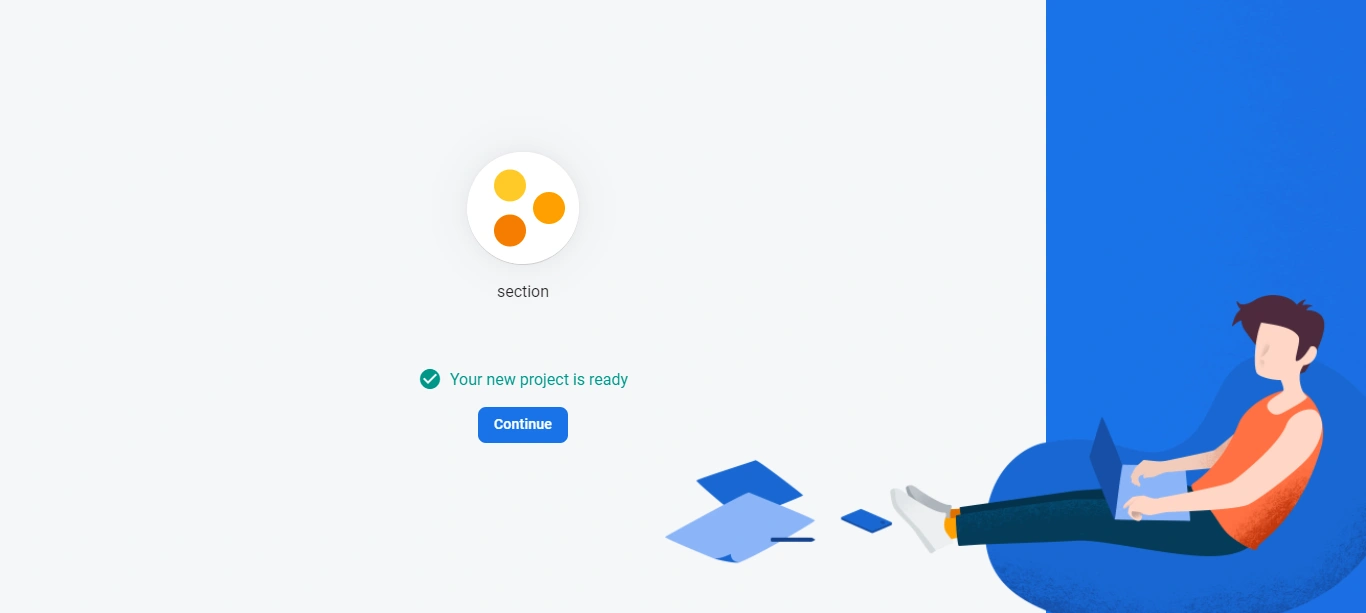
Now that our project has been created, we click on continue, which redirects us to our project’s dashboard.
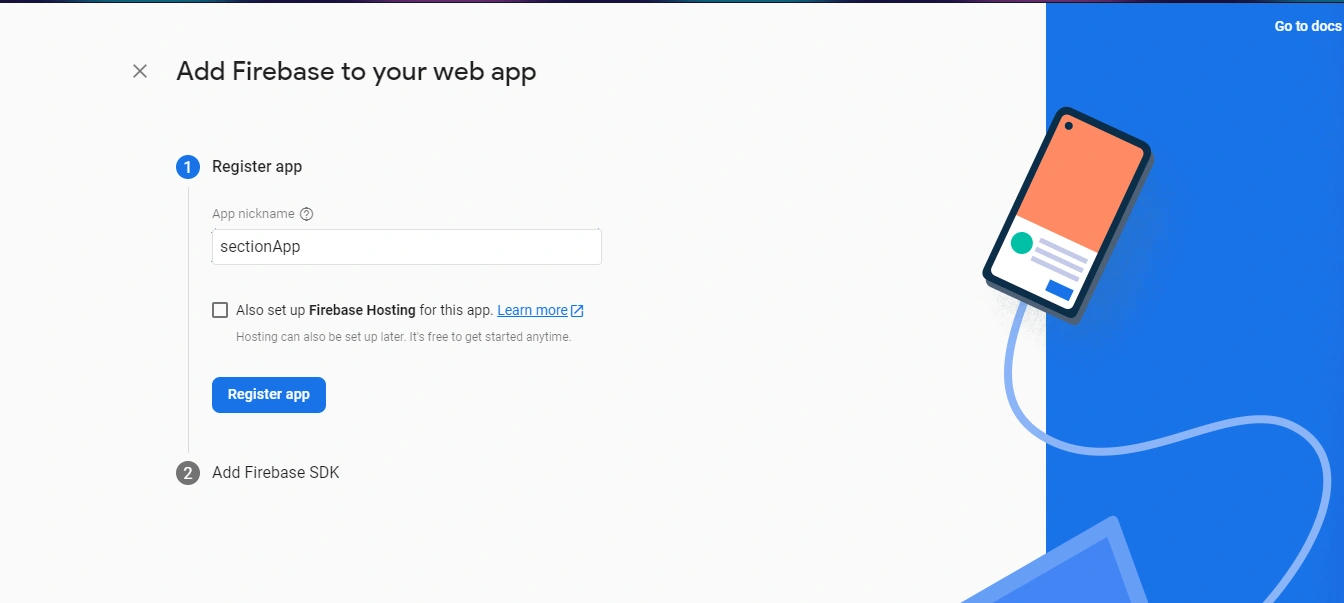
On our dashboard, we have three icons, ios, android and web. Since we are working on a web project, we will be clicking on the web icon. This directs us to a form that asks us to name our web app. Type in a name and click register app.
After clicking on the register app button, it gives us some code. Please copy the code somewhere; we will need it soon. Then we click on the continue to console button.
Now, we are brought back to the dashboard. We need to refresh the page to view our newly created app.

Creating the database
From our dashboard, to create a database, we click on Realtime Database, Create Database.
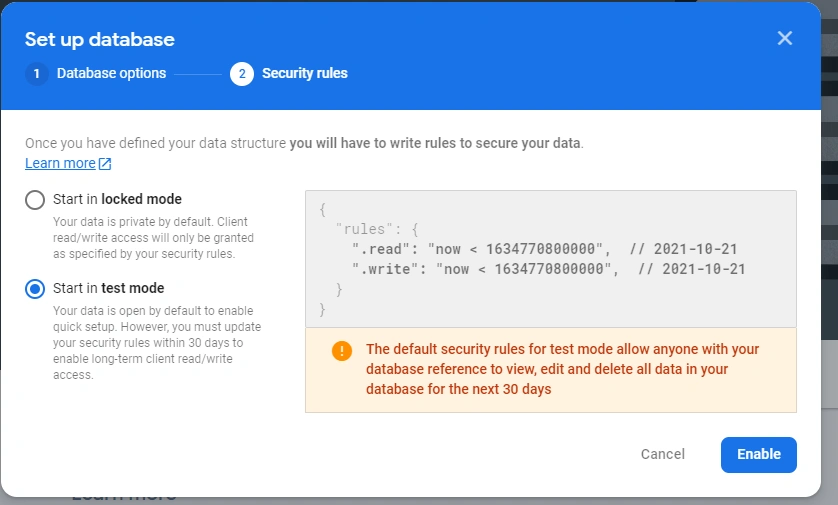
Next, we need to set up the database. You can go with the default country and click next. For the security rules, we will be choosing the Start in Test Mode option. This is because it is still in the testing stage. The Start in Locked Mode should be selected once the app is ready for production.
Once we are done with that, we are presented with a page for input data into our database.
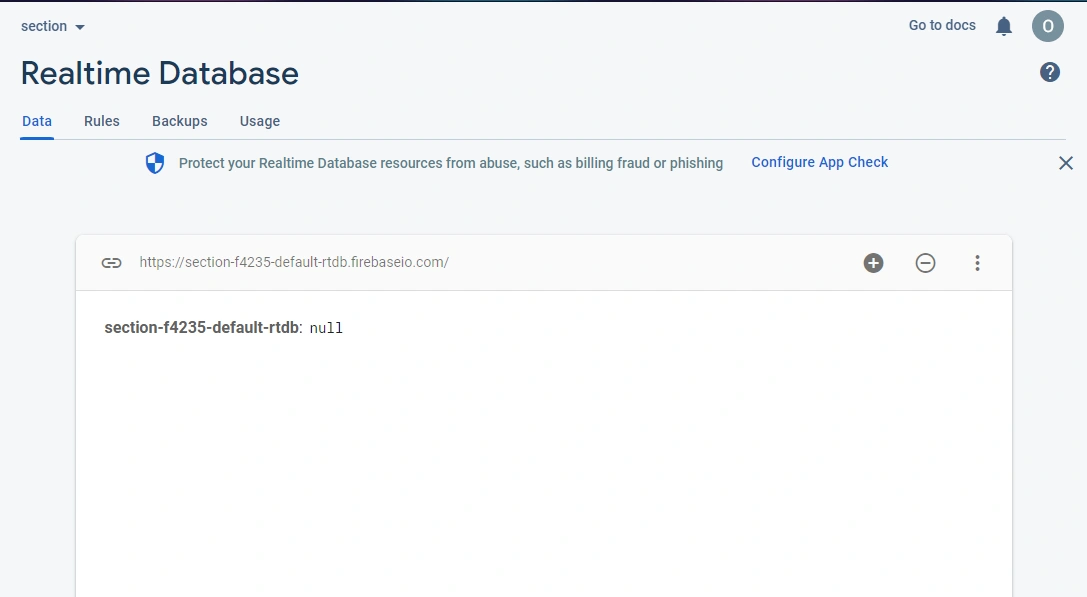
Now, let us add some demo data. First, click on the + icon. Next, in the Name field, type in Data. We want our data in a dictionary form to leave the value field blank.
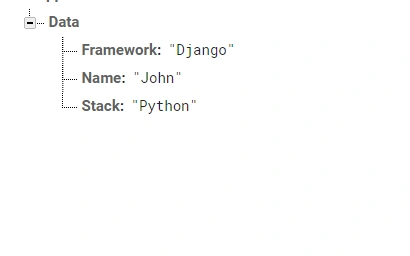
Next, click the + icon next to the value field to add another child. Fill in the Name and Data fields. To another child, click on the + icon next to Data. Add a few more data, then click on the Add button. We should have a result like this:
Now, let us integrate our newly created database into our Django app.
Setting up a new Django project
Let us begin by setting up a new virtual environment. A virtual environment allows you to set up virtual space on your computer, allowing you to separate the necessary library or dependency installation for a project.
Set up a virtual environment env by running the command below:
python -m venv env
On creation, we activate the virtual environment using the following command:
source env/bin/activate
We install Django using the following command:
pip install Django
Next, we set up a new Django project, firebase, using:
django-admin startproject firebase
Then, navigate to the firebase directory and create a Django app:
cd Django-charts
Django-admin startapp fireapp
Let us add our app to the list of already installed apps.
Navigate to the firebase directory and edit the settings.py file:
INSTALLED_APPS = [
    'django.contrib.admin',
    'django.contrib.auth',
    'django.contrib.contenttypes',
    'django.contrib.sessions',
    'django.contrib.messages',
    'django.contrib.staticfiles',
    'fireapp',
]
To connect Firebase and Django, we need to install a python package named pyrebase.
pip install pyrebase
Setting up a view
We will be creating a view by adding the following to our view.py file:
from django.shortcuts import render
import pyrebase

# Remember the code we copied from Firebase.
#This can be copied by clicking on the settings icon > project settings, then scroll down in your firebase dashboard
config={
    "apiKey": "AIzaSyAxOhg2XQiRpktrfDpPGWoqjgQD7alSmq0",
    "authDomain": "fireapp-c3e36.firebaseapp.com",
    "databaseURL": "https://fireapp-c3e36-default-rtdb.firebaseio.com",
    "projectId": "fireapp-c3e36",
    "storageBucket": "fireapp-c3e36.appspot.com",
    "messagingSenderId": "564960363824",
    "appId": "1:564960363824:web:ff9ee05d0330b7f75734f5",
    "measurementId": "G-NBBM679DH2"
}

#here we are doing firebase authentication
firebase=pyrebase.initialize_app(config)
authe = firebase.auth()
database=firebase.database()


def index(request):
        #accessing our firebase data and storing it in a variable
        name = database.child('Data').child('Name').get().val()
        stack = database.child('Data').child('Stack').get().val()
        framework = database.child('Data').child('Framework').get().val()

        context = {
            'name':name,
            'stack':stack,
            'framework':framework
        }
        return render(request, 'index.html', context)
Setting up templates
We start by creating a templates directory in our fire app directory. This templates directory will house our index.html file.
Next, we add the following lines of code to the index.html file.
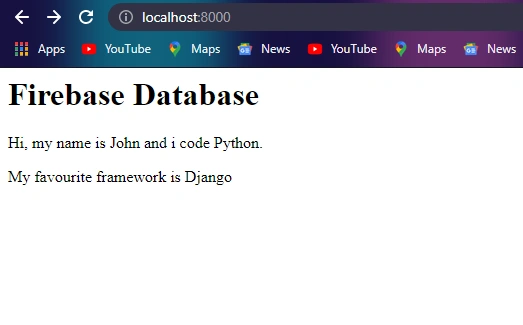
<h1>Firebase Database</h1>

<p>Hi, my name is {{name}} and i code {{stack}}.</p>
<p>My favourite framework is {{framework}}</p>
We need to update the DIRS to the path of the templates folder in our settings.py file.
TEMPLATES = [
    {
        'BACKEND': 'django.template.backends.django.DjangoTemplates',
        'DIRS': [os.path.join(BASE_DIR, 'templates')],
        'APP_DIRS': True,
        'OPTIONS': {
            'context_processors': [
                'django.template.context_processors.debug',
                'django.template.context_processors.request',
                'django.contrib.auth.context_processors.auth',
                'django.contrib.messages.context_processors.messages',
            ],
        },
    },
]
Next, we edit our urls.py by adding the following code:
from Django.contrib import admin
from Django.URLs import path
from fire app import views

urlpatterns = [
    path('admin/', admin.site.urls),
    path('', views.index, name='index'),

]
Let us test this out by starting the server with the following command:
python manage.py runserver
Conclusion
In conclusion, we have learned about Firebase and integrating the firebase database in a Django app. We also learned how to use the Realtime Database. There are other firebase services you can try out, like authentication.
Check out the Firebase documentation to learn more about Firebase.
Link to the complete code on GitHub.
Happy Coding!


Comments: