


The Raspberry Pi can be used as a web server on your main local network or the internet at large. It is a great selection in cases where you want an intranet for the office or a web development server.
You can create a local Pi webserver to deliver various contents while you are surfing over the internet. To make the webserver operational, the Raspberry Pi should be connected to the local network. And, ensured that it has the latest version of the operating system of Raspbian. These are the defined instructions you need for any model to work even on the pocket-sized Raspberry Pi Zero W and the very powerful Raspberry Pi 4.
Prerequisites
For the readers to follow through, they are assumed to have an installed operating system with the Pixel window manager. In summary, you need to have:
- A Raspberry Pi Zero W.
- Apache webserver.
- Internet.
- Modules such as SSH enabled.
Introduction
Various web servers can be related to the Raspberry Pi, and each has utilization advantages. This tutorial uses the Apache webserver application.
Apache is an open-source web server that provides content via the internet. It can be installed on a Raspberry Pi and used to deliver web pages. Apache can handle HTML files through HTTP, and with extra modules, it can help with dynamic web pages written in languages like PHP.
Apache offers the advantage of being able to handle high traffic with less configuration. You can configure it to conduct an operation you wish and the approach to use. To increase its efficiency on the Raspberry Pi, you can eliminate modules that are not required.
Setting up Apache on Raspberry Pi
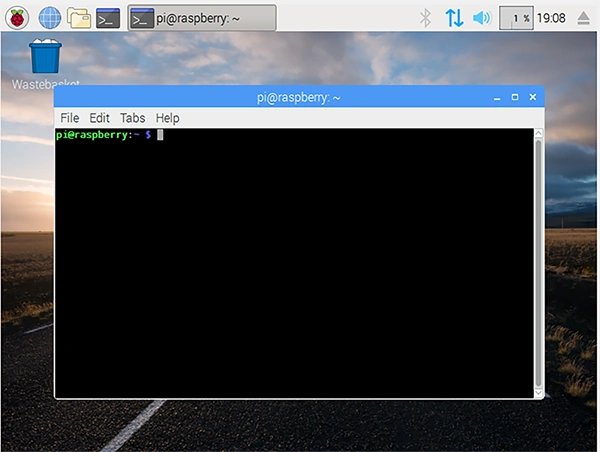
Step 1: Accessing the terminal
This step will describe how to access the raspberry pi’s terminal. This can be achieved in two main ways as shown below:
- You can access the command terminal by clicking
CLRL+ALT+Tfrom the Raspbian desktop.
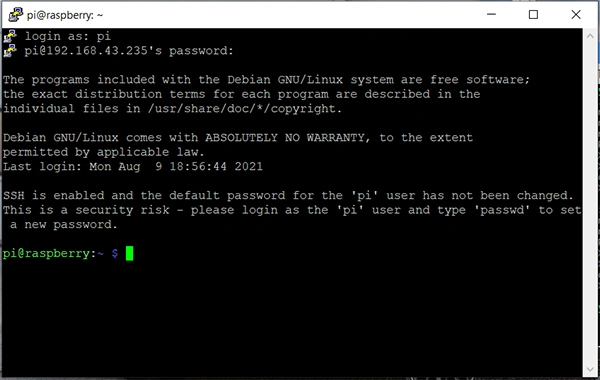
- You can also opt to connect remotely through SSH in case it is enabled on the Raspberry Pi. This is possible through a tool such as Putty and then use raspberry’s username and password to log in.
Note: The default login credentials for a raspberry Pi using SSH are: Username: pi, Password: raspberry.
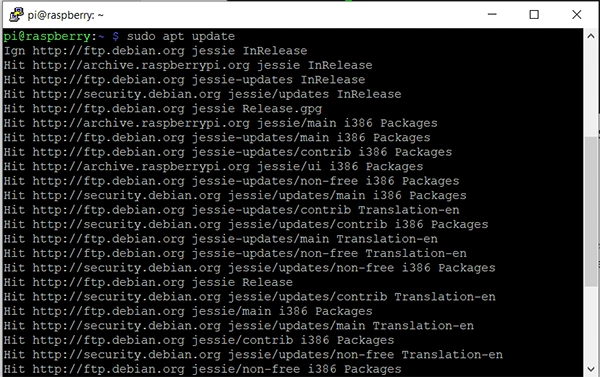
Step 2: Updating packages
In this step, we will make sure that the available packages in our Raspberry pi are updated by typing the command below into the terminal. This ensures you have the current versions of any file you download afterward.
Sudo apt update
Step 3: Installing Apache
In the third stage, we will install apache. To Install apache2, we run the following command:
Sudo apt install apache2 –y

Step 4: Installing PHP
This is the point where we install PHP. PHP helps in making sure that the web pages function as expected and also communicate with the database. Add PHP using the command:
sudo apt-get -y install php5-common php5-cgi php5

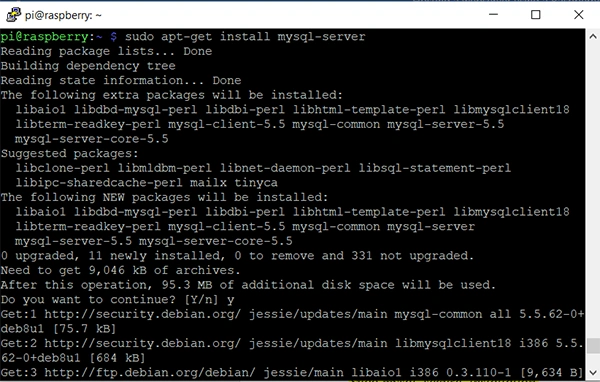
Step 5: Downloading MySQL
After PHP has been successfully installed, we can now download our desired database. In this tutorial we are using the MySQL database. To download MySQL, run the following command in the terminal:
sudo apt-get install MySQL-server
Note: When prompted to change the root password, please choose a strong password for MySQL. Make sure to write it down somewhere you can refer to later on.
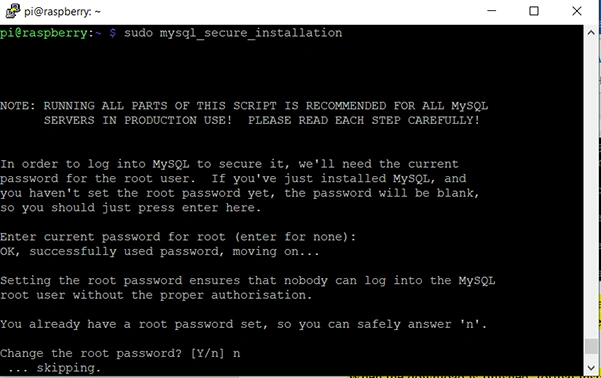
Step 6: Installing MySQL
This stage describes the installation process of the already downloaded database. When the download is finished, formal installation is required and can be done using the command:
sudo mysql_secure_installation
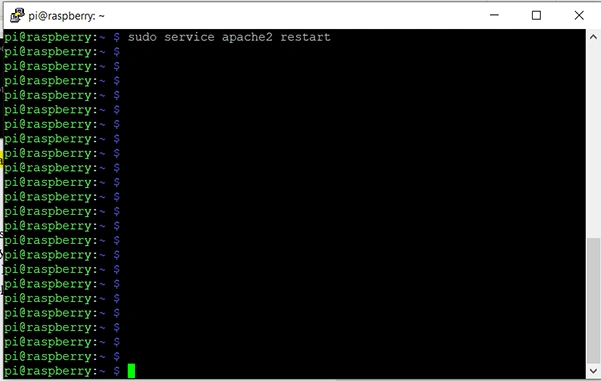
Step 7: Restarting the server
At this point, we will restart the webserver, apache2, to confirm that the changes take effect and are running. Use the command:
sudo service apache2 restart
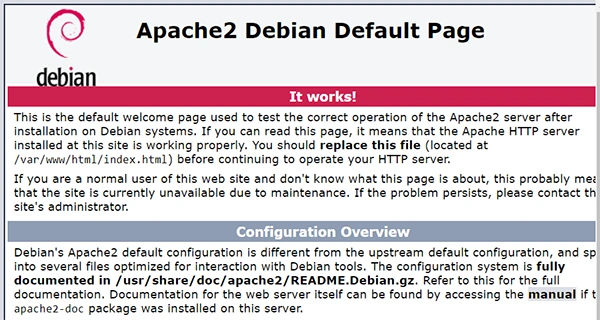
Step 8: Testing the webserver
We will now put the apache webserver to test. Since Apache has an HTML file in the Apache web subdirectory, you can serve it on the raspberry when you browse HTTP://[Host_IP_Address]/. When you browse to the default page of the webserver on the Pi or using another computer, the following page will be displayed if the Apache webserver is working.
You can build your website by locating the PHP files or the HTML in the /var/www/HTML directory. To make the folder easily accessible to the default user, that is, the pi, run the command: Sudo chown –R pi/var/www/html
Changing The host name of the server
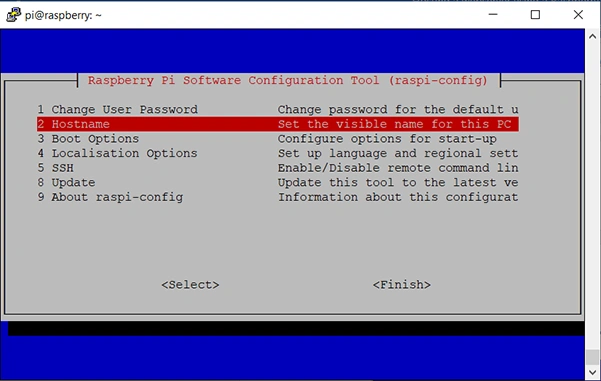
The hostname of the Raspberry Pi will be raspberry by default. Since you might have other raspberry pi names on your network, you can make changes using the following steps:
- Type
Sudo raspi-configin the terminal and then select the hostname option.
Alternatively, use the start menu to navigate to Preferences->Raspberry configuration to launch the windowed version.
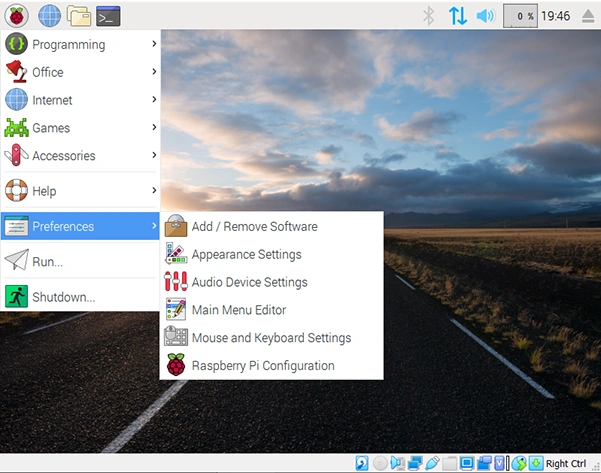
- Choose the Hostname you wish to have, for instance, “myraspserver”, then click ok.
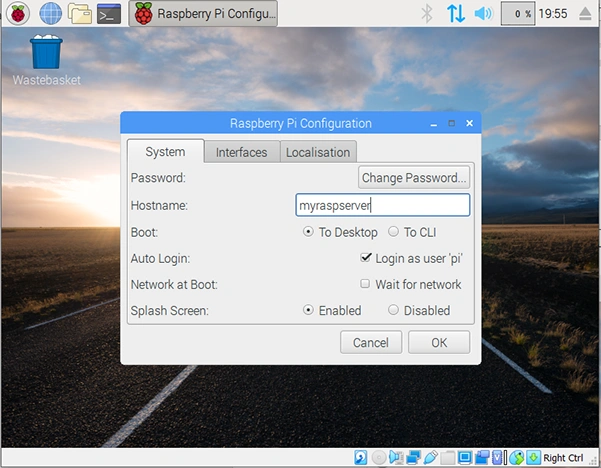
Note: This will assist you in getting over the warning about not using characters other than numbers, hyphens, or letters. The hyphen is only allowed in situations where it is in between a name.
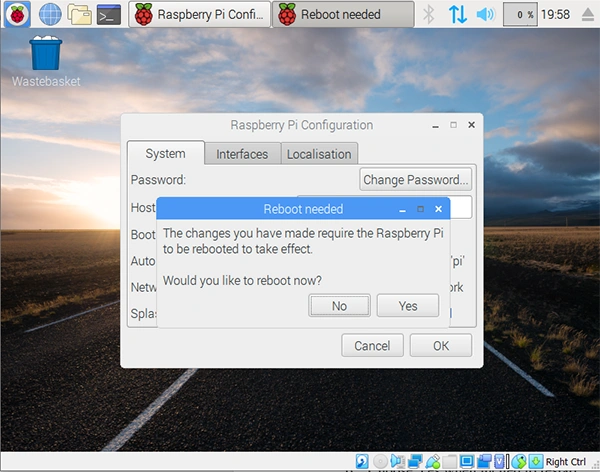
- Choose “yes” when prompted to restart.
Once you have allowed your computer to reboot, the Raspberry Pi will now be shown with its changed name.
Conclusion
Web hosting offered by providers of such services is given at a price and in some cases, it can be very expensive. Hence, it is important to find ways of cutting such costs, especially if the hosted service is only for a small group of people.
By following the steps presented above, it is possible to install and host a web server using a Raspberry Pi. The hosted web server can be used to serve a small office through an intranet and is more cost-efficient.


Comments: