


One reason Docker is superb is due to its ability to containerize an application without installing additional dependencies on your local computer. Nevertheless, Docker runs on a virtualization architecture. This creates an isolated environment for running your application away from the host machine.
Docker engine takes the role of assigning resources from the host to the virtualized isolated application. Once such application is containerized, the application virtualized data are isolated from the host. This means when you virtualize an application, all its data will be hosted within the dockerize containers. In this case, the host and the application are running on different infrastructures.
At times you may want your virtually containerized application to share data and files directly from the host computer.
By default, all files generated within a container are saved on a writable container layer. Once the container is no longer running, the data does not persist. The container’s writable layer is closely connected to the host computer on which the container is executing. Therefore, the data cannot be readily transferred to another location.
Docker provides two ways for containers to save files on the host system so that the files are persistent even after the container is shut down. These are Docker volumes and bind mounts.
This blog will teach you how to share data between a Docker containerized application and the host computer.
Prerequisites
This guide is about Docker. Prior knowledge on how to use Docker to run applications will be essential. This article on Getting Started with Docker will help you learn more about Docker.
Setting up Docker
- First, ensure that you have downloaded and installed Docker on your computer. Check that by running:
docker --version
- Next, you need to pull the Nginx image. Head over to your terminal and pull the Nginx image from the Docker hub using the command below:
docker pull nginx
You can check if the image was downloaded using the command docker image ls, and the images will be listed in your terminal.
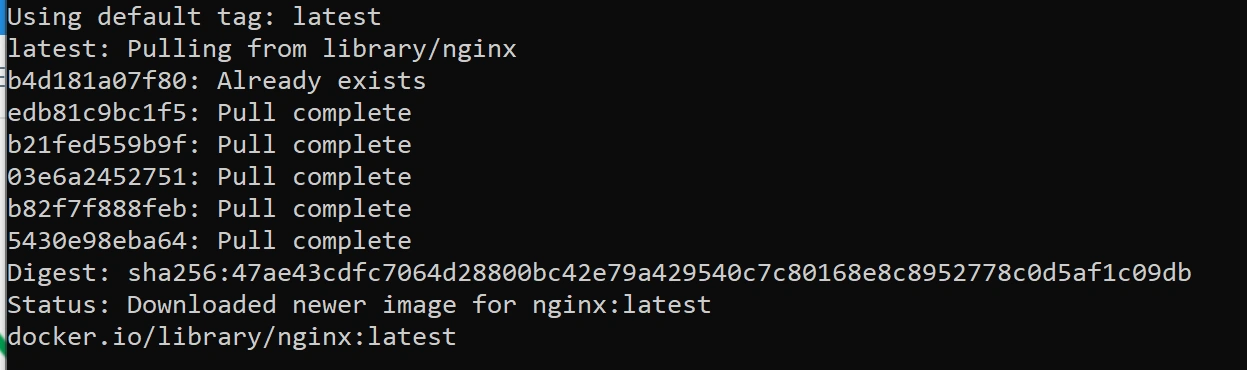
This shows that Nginx with the latest tag has been successfully downloaded from the Docker hub. Therefore, we can use it to build a Docker container that will be used to execute this image.
Using bind mounts
By default, Docker runs applications as stateless. It sends a writable layer to allow an app write access, but everything you write there is deleted as soon as the container is stopped. This means writable layer access is not always reliable. Therefore, Docker uses different methods such as bind mount, volumes, and in-memory options to temporarily manage the application file system.
Bind mount works by exposing a file or directory on the host computer system within the container. This is a powerful technique for accessing files on the host machine from within your container.
Because the data is stored on the host, it is not lost when the container is terminated. Because this data is stored on the host computer, you must know the correct path on the host that you wish to mount in the container.
This will benefit your development because you will not have to rebuild the image to access the new source code. You make modifications to your source, and the changes are immediately reflected on the mounted container.
To use bind mount, we will follow the following steps:
Step 1: Let’s make a directory where we will mount with the container
Run the command below to create a directory:
mkdir -p /tmp/nginx/html
Step 2: Build and run the container using the Nginx image
Using the Nginx image that we have pulled, we will create a Docker container that will:
- Run a container in the background using
-t -d. - Set for port mapping using
-P. - Set the volume for mounting using
-vwhich is the volume we have created in the previous step to the location of Nginx files. - Set the name of the container using
--name. - Set the Nginx image using
nginx:latest.
docker run -t -d -P -v /tmp/nginx/html:/usr/share/nginx/html --name nginxcont nginx:latest
After running the above command, check the running containers using the command:
docker container ls

Step 3: Get your IP address
To get your IP address, type in the command below:
ifconfig
You can get your port number from the container we have created in the previous process by checking under the column PORTS or just running the command run docker container ls. This will get the port number assigned to the container we are using.
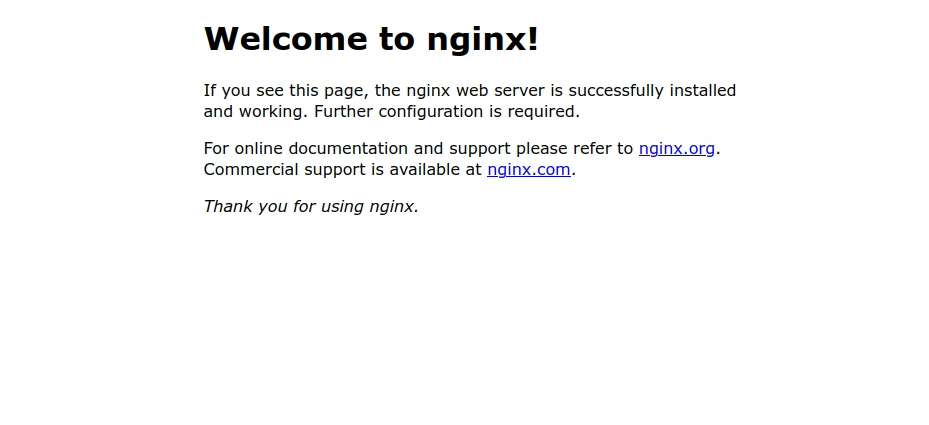
Proceed to your browser and key in the following URL in your tab: http://<your_ip_address>:<your_port>. Since we do not have any HTML file in the directory, your content should be similar to:

Step 4: Testing
In your current directory, create an index.html file and add the following lines of code:
<!DOCTYPE html>
<html>

<head>
   <title>Welcome to nginx!</title>
   <style>
     body {
       width: 35em;
       margin: 0 auto;
       font-family: Tahoma, Verdana, Arial, sans-serif;
     }
   </style>
</head>

<body>
   <h1>Welcome to nginx! Edited</h1>
   <p>
     If you see this page, the Nginx web server is successfully installed and working. Further configuration is required.
   </p>

   <p>
     For online documentation and support please refer to
     <a href="http://nginx.org/">nginx.org</a>.<br />
     Commercial support is available at
     <a href="http://nginx.com/">nginx.com</a>.
   </p>

   <p><em>This file is edited</em></p>
</body>

</html>
We will copy this file from the host computer to the Docker container’s mounting folder we created earlier. Use this command to copy the file:
cp index.html /tmp/nginx/html
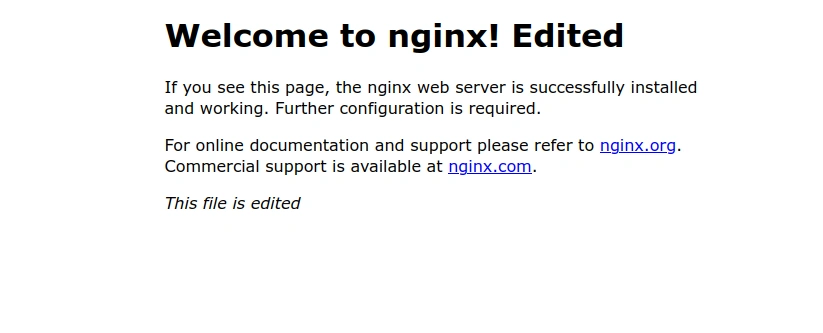
After running the above command, refresh your browser tab, and you will see the new content.
Now let’s update the file. First, go to the directory this file is located using the command below:
cd /tmp/nginx/html
Now, using your code editor, modify the file and save it. If you refresh the browser tab, you should be able to visualize the modifications you made. You now have explored how to share files from the host computer to a Docker container using the bind mount.
Using volume mounting
To use volume mounting to share data between the host and the container, follow the following steps:
Step 1: Create a volume
Start by creating a volume using this command:
docker volume create simplevol
to confirm if the volume was created, run the command:
docker volume ls

Step 2: Container mapping
Run a Docker container mapping the volume you created above. We will use the following instructions:
- Run a container in the background with
-t -d. - Set a port mapping with
-P. - Set the name of the container with
--name. - Set the volume with
-v. With the volume, we are setting it to the location where Nginx files are stored so that we can be able to edit them and see them in action. - Use the Nginx image with
nginx:latestto create a container.
Now run this command to execute the above parameters:
docker run -t -d -P --name nginxcont1 -v simplevol:/usr/share/nginx/html nginx:latest
The container is set and should be running. To check the status of the container, run the command:
docker container ls

Step 3: Get the IP Address of your host computer
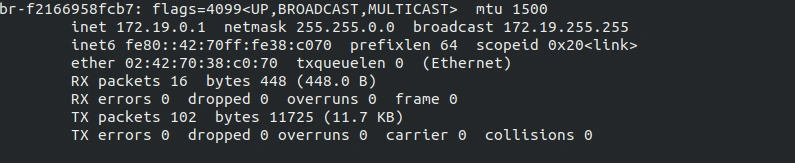
Get the IP Address of your host computer by running the ifconfig command:
ifconfig
Your IP Address will be on the inet parameter. For our case, it’s 172.19.0.1. You will find it in your response as below:
- Get the port number where the container is mapped on from the previous step of checking container status in the
PORTScolumn. - With the IP address and the port number, you can now head over to your browser, open a tab, and key in the following:
http://<your_ip_address>:<your_port>.
Your page should resemble the following:
Step 4: Testing
First, copy the Nginx index.html from the container to your host computer. To do that, type in the following command:
docker cp nginxcont1:/usr/share/nginx/html/index.html index.html
Open the file using your code editor, update it as follows and save it:
<!DOCTYPE html>
<html>
   <head>
     <title>Welcome to nginx!</title>
     <style>
       body {
         width: 35em;
         margin: 0 auto;
         font-family: Tahoma, Verdana, Arial, sans-serif;
       }
     </style>
   </head>
   <body>
     <h1>Welcome to nginx! Edited</h1>
     <p>
       If you see this page, the Nginx web server is successfully installed and working. Further configuration is required.
     </p>

     <p>
       For online documentation and support please refer to
       <a href="http://nginx.org/">nginx.org</a>.<br />
       Commercial support is available at
       <a href="http://nginx.com/">nginx.com</a>.
     </p>

     <p><em>This file is edited</em></p>
   </body>
</html>
Push the edited file from your computer to the Docker container by running the command:
docker cp index.html nginxcont1:/usr/share/nginx/html
If you refresh the previously opened tab, the content should have been updated to reflect the added changes.
So far, you have been able to run a container with volume mounting, copy the files from the host computer to the Docker container, and vice versa. With Volume mounting, the files will remain updated even if we delete the current container. To verify this, we will:
- First, stop the current container:
docker stop nginxcont1
- Then, start a different container mounting to the same volume using the command:
docker run -t -d -P --name nginxcont2 -v simplevol:/usr/share/nginx/html nginx:latest
- With your IP address and the port of the newly created container, access it from the browser. You will see that the content is the updated one. This is because we have mounted it to a volume.
You have now learned about volume mounting and its data persistence.
As a side note, volumes are also used when you are running your dockerized application using docker-compose. When you write a docker-compose file, you can specify the volumes, and the volumes paths will be created automatically when building up the application container.
Here is an example of a docker-compose.yml file that can be used to dockerize a Mongo database:
version: '3.8'
services:
 mongo:
   image: mongo:4.2.8
   ports:
     - 27017:27017
   volumes:
     - mongodb:/data/db
In the above example, the database container runs on a host. The container has a virtual file system where the data is usually stored with no persistence.
If we were to stop and restart the container, the data in this virtual file system will be gone, and it starts from a fresh state. But since we have added volumes in this docker-compose file, changes that the application is making in the database will be saved.
A directory from the host file system is mounted into a folder within Docker’s virtual file system. When the container publishes to its file system, it is instantaneously duplicated and written to the host file system directory, and vice versa.
When a container restarts its virtual file system, it gets the data automatically from the host because the data is still there every time you restart the container.
Conclusion
We have covered how you can share data between your Docker containers and the host computer. The processes are straightforward to implement.
In case you are using Docker volumes, you can use the same approach and use data volumes to share data between different containers running in the Docker environment. Check this blog to learn how to share data between Docker containers.


Comments: