


Container technology is growing every day. It’s a technology that makes application development much easier and faster. It has a clean architecture that ensures application services utilize resources sustainably by dividing an application into smaller services called images. This allows you to set up each service independently without affecting how the other services run.
In this case, Docker provides a docker-compose file that allows you to set all your application environments and run a few commands to fully set up your application in a more elegant and faster approach.
Let’s take the case of running a PHP application. You would have to install all environments that you need to run PHP scripts. You need an apache server installed in your server/system and probably a MySQL database. Then set up each environment in a way that will allow you to run your PHP-driven website.
With Docker, things are much more manageable. Docker allows you to set your application with each service running as a microservice. This way, you set a single YML file that will isolate all the services that your application needs to run. The file sets up the PHP Apache server and MySQL database for you. All you need is to specify the parameters that you need your application to run on.
The main advantage that Containers provides, is a scalable environment to run your application services. It ensures that the practices of continuous integration and continuous delivery (CI/CD) pipelines are enhanced across the team. So you only need to share this YML file with every team member. This will set all the necessary environments across the team regardless of the operating system they are running on. Thus team members can synchronize their work without breaking the code.
This guide will show you how we can use Docker development environment to:
- Setup and run a local PHP Apache server instance.
- Serve a dynamic PHP-driven website.
- Setup a MySQL database to run SQL scripts, fetch records, and print them in a PHP-driven website.
We will use the Docker hub images to set up a containerized PHP development environment.
Prerequisites
- Ensure that Docker demons are installed on your computer.
- Basic knowledge of PHP and SQL queries.
- Fundamental understating of how to build and run Docker hub images from a Docker file.
- Understand how containers work.
- Basic knowledge on how to execute Docker and docker-compose commands.
Setting and testing if Docker is running
After you have downloaded and installed the Docker demon, open the Docker engine and make sure the engine is running.
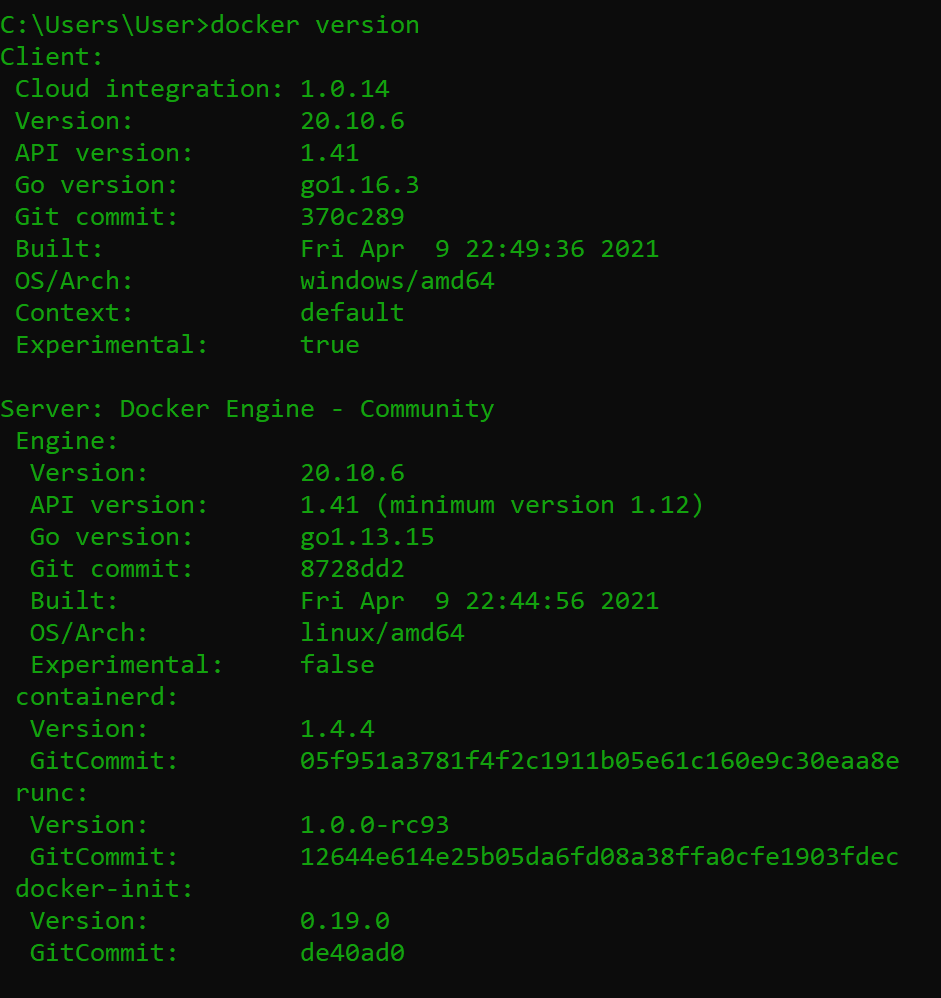
Open a command line and run the following command to verify if Docker is correctly installed on your computer.
docker version
This will log the results almost similar to this command line logs.
If you are a beginner at Docker, you might come across this Docker engine error while running the command above.

To solve this, head over to your Docker desktop engine, troubleshooting and reset Docker to its factory/defaults setting.

Run the docker version command, and it should now work fine. And if the problem persists, search and find the necessary ways to set your Docker engine correctly.
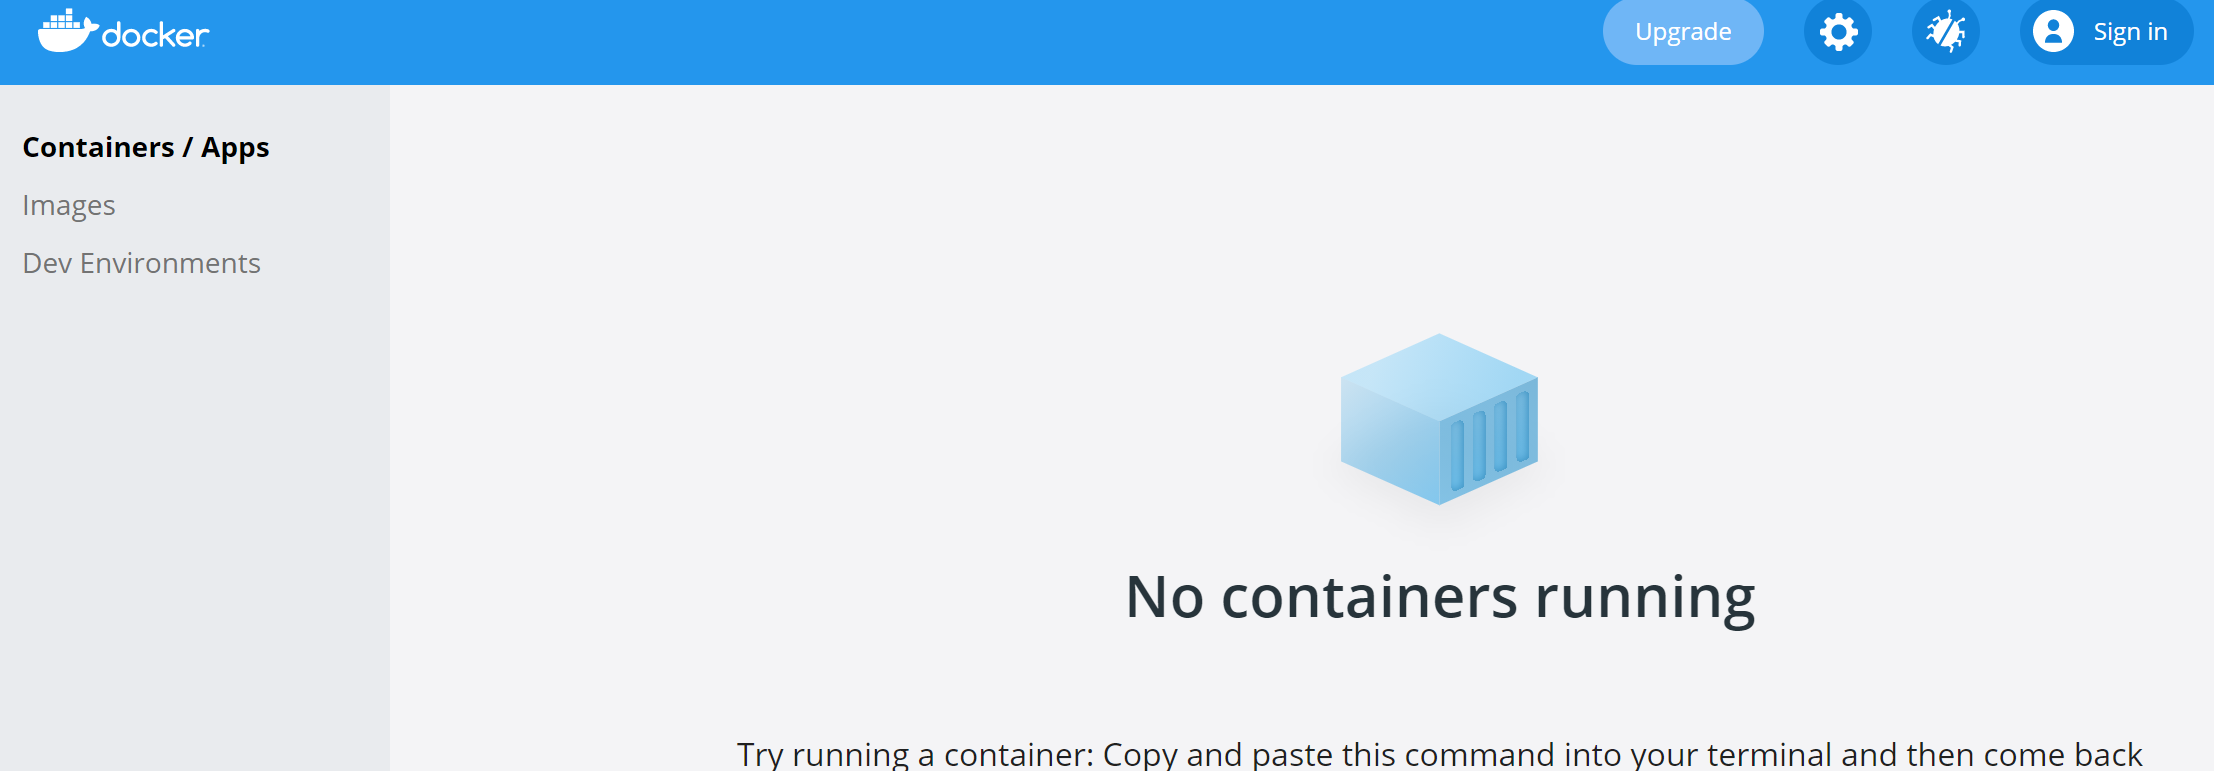
We are starting from scratch; make sure you have no containers and images running in your Docker engine. Run docker container ls to check any available container. To remove a Docker container, run docker container rm <container's name>. And make sure no container is running.

Laying down docker-compose YML file
Docker-compose allows you to set the parameters of the necessary images that you want to run in your application. In our case, we will use Docker hub official images such as PHP Apache, and MySQL. We will write their parameters in a .yml file. A .yaml will work as well.
Go ahead and create a project folder and create a .yml file inside that folder.
For example, docker-compose.yml.
To set a docker-compose, you need first to select the Docker version you want to use, the services you want to provide, and the containers you want to run.
version: '3.8'
services:
  php-apache-environment:
    container_name:
Setup and run a local PHP Apache server instance
To set up a PHP Apache container, you need to specify the following environments,
- The container name – this is just a random name that you would like to name your PHP container.
For example container_name: php-apache.
- The container image – this the official PHP image, the version of PHP Apache you want to use. In this case, we are pulling
image: php:8.0-apachefrom the Docker hub. - The volume – this will set up your present working
srcdirectory for your code/source files. If you were to run a PHP script, that file would have to be in that directory.
Such as:
volumes:
  - ./php/src:/var/www/html/
- The port numbers. This defines the ports where the script will run from. It will set up an Apache server port mapping to the port on your local computer.
For example:
ports:
  - 8000:80
This means that we are setting up an Apache server to expose port 80. Port 8000 reaches out to the PHP scripts and executes them in a browser from within Docker containers.
This is how you docker-compose.yml should look like.
version: '3.8'
services:
  php-apache-environment:
    container_name: php-apache
    image: php:8.0-apache
    volumes:
      - ./php/src:/var/www/html/
    ports:
      - 8000:80
Let’s test it out. Go ahead and run docker-compose up. That’s going to pull all the information, download the Apache server, build the image, and run the container.

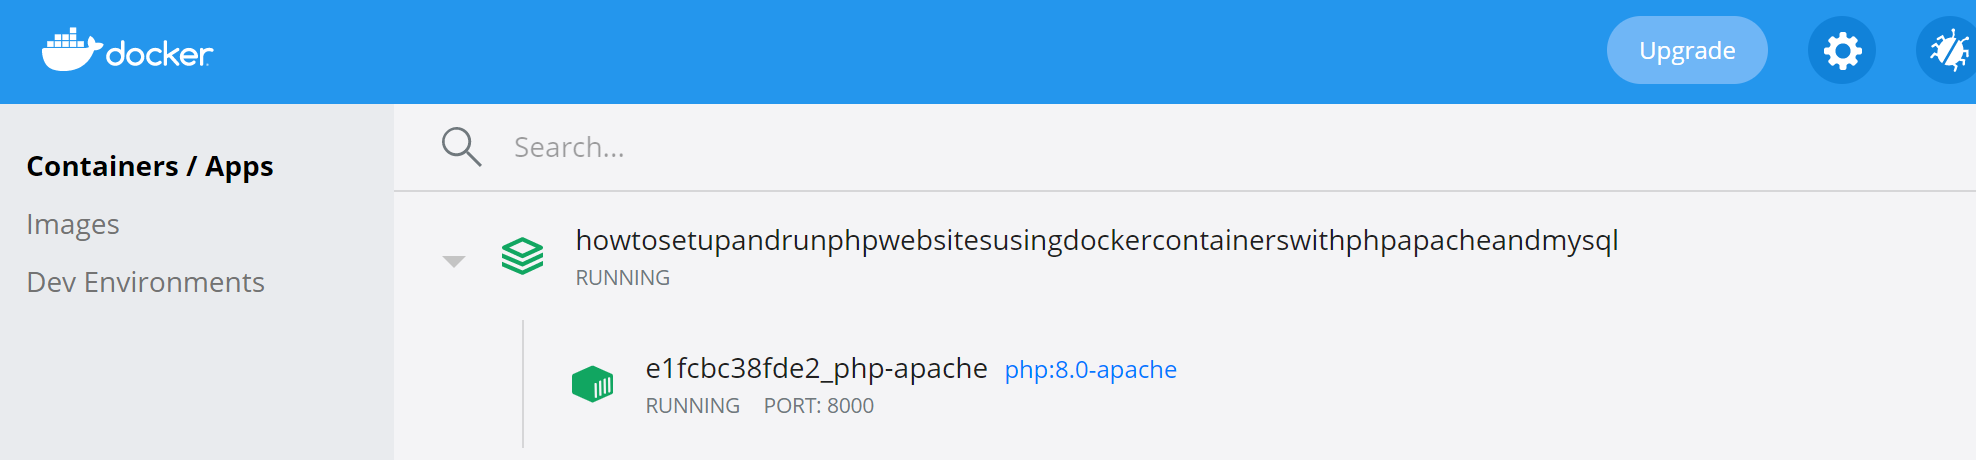
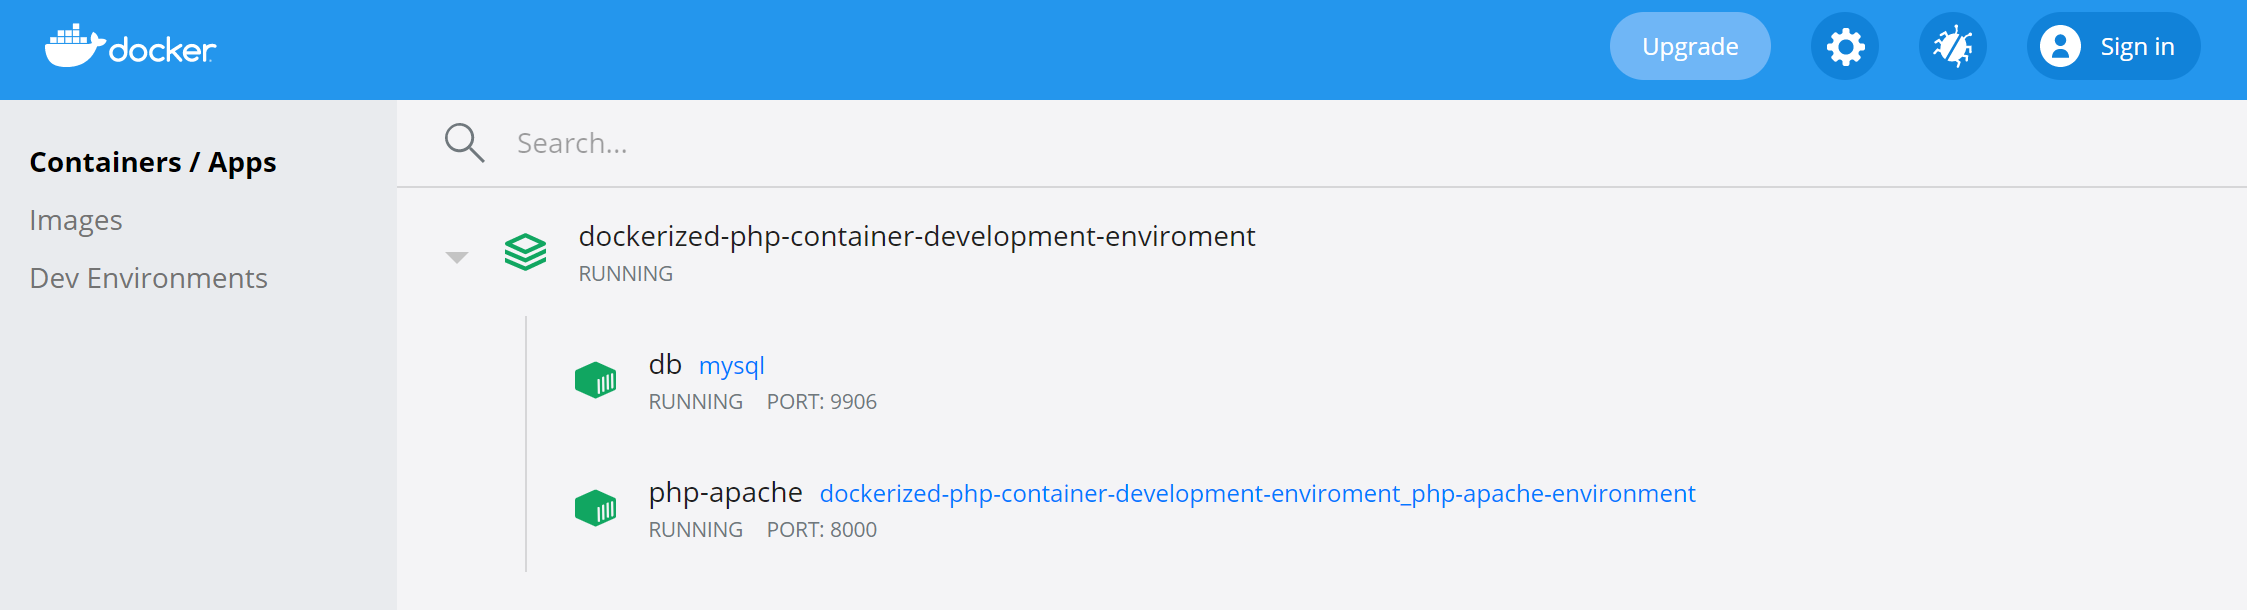
If you open the Docker desktop engine, the container should be up and running.
To ensure the container is set to execute the PHP scripts, open your defined local host post in the browser,i.e., http://localhost:8000/.

This shows the container is set to run some PHP-driven code.
Serve a dynamic PHP-driven website
Let’s now execute some PHP code and get the output in the browser. You will be executing the scripts from the directory that you defined in the volumes of your docker-compose.
In this case we are using ./php/src.
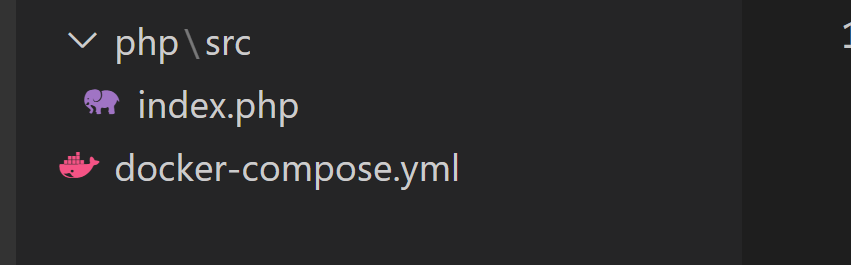
Head on to your project directory ➙ ./php/src, create an index.php file and start writing your PHP scripts.
A simple index.php script.
<?php
echo "Hello there, this is a PHP Apache container";
?>
Refresh on your browser (http://localhost:8000/), and the results of this simple PHP drive website should be visible.
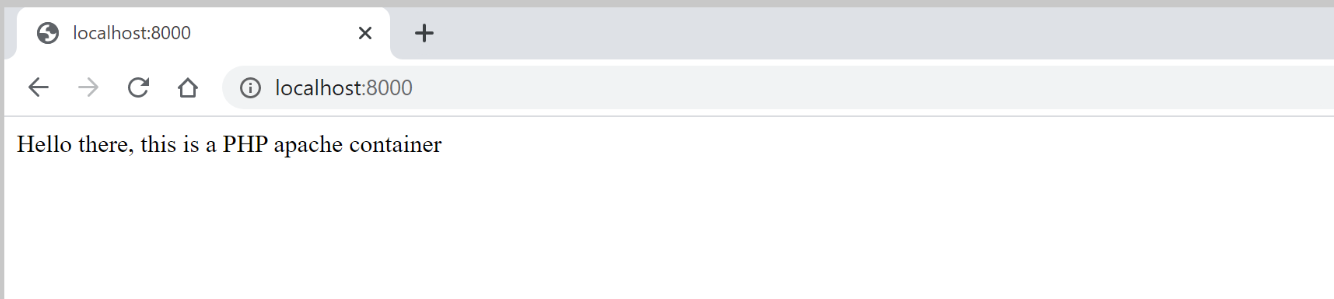
Congratulations! You now have a containerized PHP website.
Setup a MySQL database container
You would probably want to set up a database to interact with your website. We will create another service to provide MySQL support inside the PHP container.
Let’s add the MySQL service into the docker-compose.yml file. To setup MySQL, we need to customize some environment, such as:
- Password authentication. To use and access a MySQL server, you need to set authentication environments that will allow you to access the defined MySQL server and its services, such as a database. We will use
MYSQL_USER: MYSQL_USERandMYSQL_PASSWORD: MYSQL_PASSWORDto connect to MySQL and access theMYSQL_DATABASE: MYSQL_DATABASE. - A restart policy set to
restart: always. This restarts the service whenever any defined configuration changes.
db:
    container_name: db
    image: mysql
    restart: always
    environment:
        MYSQL_ROOT_PASSWORD: MYSQL_ROOT_PASSWORD
        MYSQL_DATABASE: MY_DATABASE
        MYSQL_USER: MYSQL_USER
        MYSQL_PASSWORD: MYSQL_PASSWORD
    ports:
        - "9906:3306"
We need to add some MySQL support tools inside the PHP container for the two services (db and php-apache) to work correctly. This tool includes mysqli.
Inside your project directory, head to the /php folder, create a Docker file, name it Dockerfile and add the following PHP configurations.
FROM php:8.0-apache
RUN docker-php-ext-install mysqli && docker-php-ext-enable mysqli
RUN apt-get update && apt-get upgrade -y
Here we have created a custom PHP Apache image and an environment that will install mysqli, a PHP extension that will connect the PHP Apache to the MySQL server.
Now we need to build this custom image inside php-apache service in the docker-compose.yml file. PHP Apache also depends on the db service to connect to MySQL. We need to configure it by specifying a depends_on: environment.
This is how your docker-compose.yml file should look like.
version: '3.8'
services:
    php-apache-environment:
        container_name: php-apache
        build:
            context: ./php
            dockerfile: Dockerfile
        depends_on:
            - db
        volumes:
            - ./php/src:/var/www/html/
        ports:
            - 8000:80
    db:
        container_name: db
        image: mysql
        restart: always
        environment:
            MYSQL_ROOT_PASSWORD: MYSQL_ROOT_PASSWORD
            MYSQL_DATABASE: MYSQL_DATABASE
            MYSQL_USER: MYSQL_USER
            MYSQL_PASSWORD: MYSQL_PASSWORD
        ports:
            - "9906:3306"
Run docker-compose up to pull and set up the MySQL environment. MySQL will be added to the container.
Run SQL query using PHP scripts
Let’s test if the container is working as expected. Head over to the index.php file and the following PHP MySQL connection code.
<?php
//These are the defined authentication environment in the db service

// The MySQL service named in the docker-compose.yml.
$host = 'db';

// Database use name
$user = 'MYSQL_USER';

//database user password
$pass = 'MYSQL_PASSWORD';

// check the MySQL connection status
$conn = new mysqli($host, $user, $pass);
if ($conn->connect_error) {
    die("Connection failed: " . $conn->connect_error);
} else {
    echo "Connected to MySQL server successfully!";
}
?>
Save the file and refresh your http://localhost:8000/ web address.

Boom. There you have it. The PHP Apache and MySQL environments are now set, and you can start developing your PHP-driven application and communicate with the MySQL server.
Setting PHPMyAdmin
The MySQL connection is now okay. Let’s see how we can fetch some data from a MySQL database and display it on a web page using PHP scripts.
Suppose your application interacts with a database; you would probably want an interface to interact with your data. We will add PHPMyAdmin services to provide us with an interface to interact with the MySQL database.
Let’s add a PHPMyAdmin service as shown below.
phpmyadmin:
    image: phpmyadmin/phpmyadmin
    ports:
        - '8080:80'
    restart: always
    environment:
        PMA_HOST: db
    depends_on:
        - db
Open http://localhost:8080/ on the browser to access the PHPMyAdmin.

To login to the Phpmyadmin panel, use username as root and password as MYSQL_ROOT_PASSWORD. The password was already set in the MySQL environment variables (MYSQL_ROOT_PASSWORD: MYSQL_ROOT_PASSWORD)
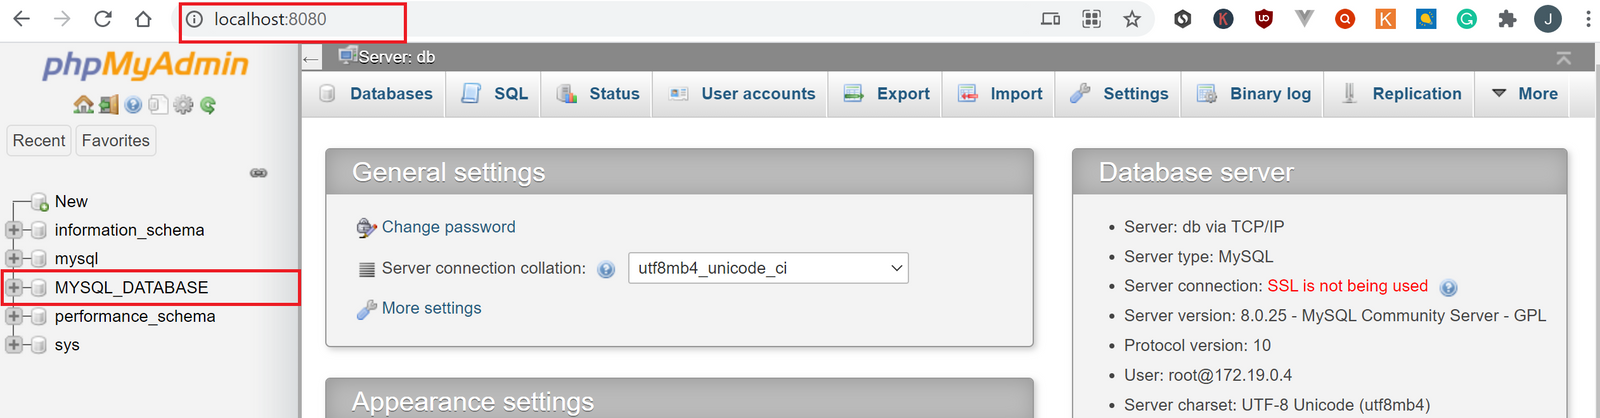
You can now see the database we defined is already set as MYSQL_DATABASE, and you can start interacting with Phpmyadmin.
Fetch records and print them on a PHP-driven website
Create a database table and fill in some records. Select the database and execute the following query.
drop table if exists `users`;
create table `users` (
    id int not null auto_increment,
    username text not null,
    password text not null,
    primary key (id)
);
insert into `users` (username, password) values
    ("admin","password"),
    ("Alice","this is my password"),
    ("Job","12345678");

Go ahead and write a select SQL query with PHP.
<?php
//These are the defined authentication environment in the db service

// The MySQL service named in the docker-compose.yml.
$host = 'db';

// Database use name
$user = 'MYSQL_USER';

//database user password
$pass = 'MYSQL_PASSWORD';

// database name
$mydatabase = 'MYSQL_DATABASE';
// check the mysql connection status

$conn = new mysqli($host, $user, $pass, $mydatabase);

// select query
$sql = 'SELECT * FROM users';

if ($result = $conn->query($sql)) {
    while ($data = $result->fetch_object()) {
        $users[] = $data;
    }
}

foreach ($users as $user) {
    echo "<br>";
    echo $user->username . " " . $user->password;
    echo "<br>";
}
?>
Refresh http://localhost:8000/ to view the results.

We have only used the Read operation to demonstrate this. Go ahead and try other CRUD operations with the dockerized PHP application.
Conclusion
I hope this tutorial helped you set up a PHP and MySQL development environment using Docker containers.
Docker is awe-inspiring container technology with a tone of mesmerizing benefits. If you haven’t started learning Docker yet, check out this tutorial and learn how to get started with Docker.
Feel free to check out the below tutorials and more about Docker and containers.
Happy coding!


Comments: