
Webscale is a big supporter of going headless, turning your monolithic server application like Magento or WordPress into a data source for a “simpler” front-end. In this blog and the next, we’ll walk you through how to make a copy of your WordPress site, run it locally, and test out some options for separating the content management and content delivery concerns.
Some people will say it’s not truly headless unless the monolithic application is live and the data is being pulled from it by the front-end application as needed. But if you don’t need to pull inventory or other live data, you can use a CI/CD build process to generate a static version of your site and publish it as a “static site” to your web host.
Static sites can deliver all of your WordPress site’s content except for things that expressly require backend integration like letting customers comment on a page. Static goes a step beyond caching your pages for quicker delivery. It cuts off many routes to your server that can be used as channels for attacks.
Static sites can also save you money. You can run an inexpensive WordPress server on a private network to handle your own people accessing it to create content, then publish the static site out to a CDN, just paying for egress and a bit of disk space.
In this article, we’ll go through creating a test copy of your blog to use for experimenting and development, then try the WP2Static plugin on it to build your first static copy.
It’s worth noting that WP2Static is “headless-ish” because it doesn’t truly separate the concerns of content management and creating the front end. You’ll use WordPress for both, but you’ll be moving WordPress out of the individual interactions with your customers and getting a number of the benefits of headless. In the next blog in this series, we’ll look at Gatsby, which will provide a truer separation of concerns, accessing WordPress via API and only using it as a content source.
Creating a test copy of my blog
I needed a medium-complexity WordPress site to work with, so I used my own, LetMyPeopleCode.com. It’s got a few plugins for content, some for security, some for navigation and SEO.
Running WordPress locally
I tried a few quick and easy “local WordPress-compatible server” packages. I love XAMPP for its flexibility, but when I got into some of the requirements of the plugins we’ll use, I found the flexibility got me into trouble.
If you’ve been a reader of my past blogs here, you know I try to find the least painful and fiddly solution to recommend to our customers, because we really do want to make things easier for you.
I looked for something containerized and user-friendly and found Local. Formerly developed by a company called Flywheel, it’s now owned and developed by WP-Engine. It’s an application you can install on Mac, Windows, or Linux and spin up quick local WordPress installations.
Once installed, run the application and follow these steps.
- Click the plus symbol in the lower left of the application window to create a new site.
- Select Create a new site, then Continue.
- Next, give your site a name. Use something simple because this will become the domain for your site and the folder name used for storing it. Using something like “StaticDemo” works well. You can also use the advanced options to set the domain and storage location separately from the name. Then Continue.
- Next, select your basic configuration. Preferred gives you PHP 7.4.1, Nginx 1.16.0, and MySQL 8.0.16. If you truly need something different, select Custom and select from the options. Then Continue.
- On the next screen you can set an administrative email, username, and password. Please note that once you install the duplicate of your site, your site’s existing admin username and password will be in effect. Then Add site. (testadmin, testyboy)
- The site will be generated and you’ll have to give admin permissions to let the program alter your hosts file to make your domain name work.
- When it’s done, if you named it “staticdemo,” your new WordPress site will be live at staticdemo.local.
Caution: You will have an option to make the security certificate Local creates for this site “trusted” by your system so Chrome and Opera don’t present scary warnings (Firefox still might). Certain operations later in this tutorial will use the cURL extension in PHP under the hood, and getting cURL to trust the certificate Local created is a whole ‘nother blog post. Please use http:// URLs for your local site, not https://, or things might break unexpectedly.
Duplicating your WordPress site
On my personal blog, I added the Duplicator WordPress Migration plugin, which is highly recommended by multiple tutorials. It has over 1 million installs and almost 3,400 five-star reviews at the time of this writing. It was easy to run.
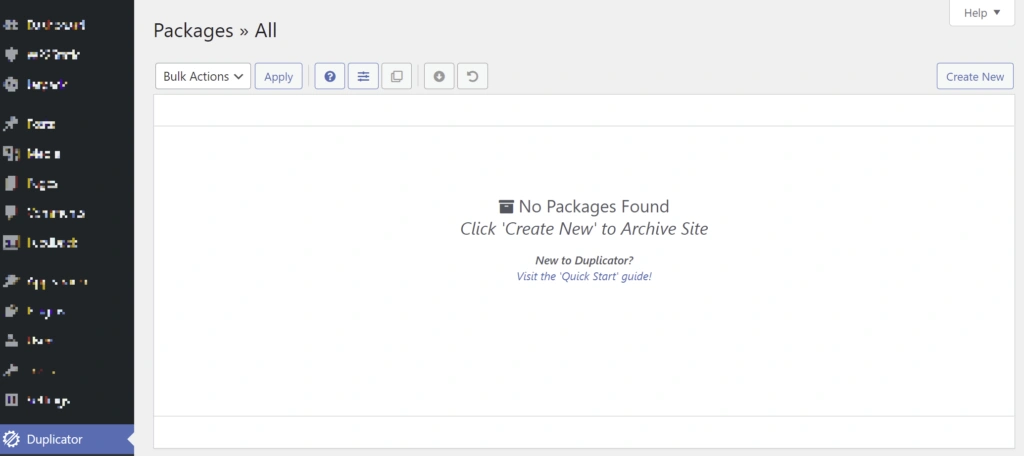
After installing and activating Duplicator on my actual blog (not the one created with Local), I launched the Duplicator control panel and selected Create New.
 Duplicator-start.webp
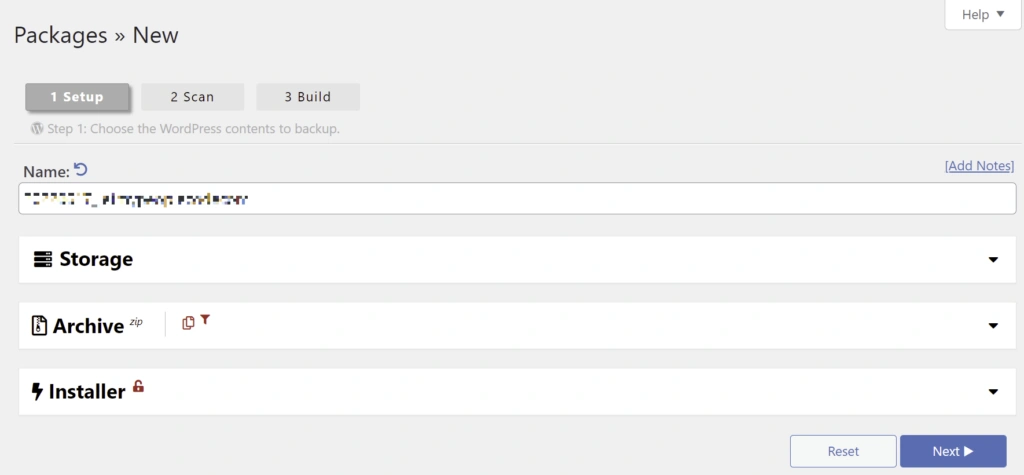
I went with the default configuration on the next screen and just selected Next.
 Duplicator-config.webp
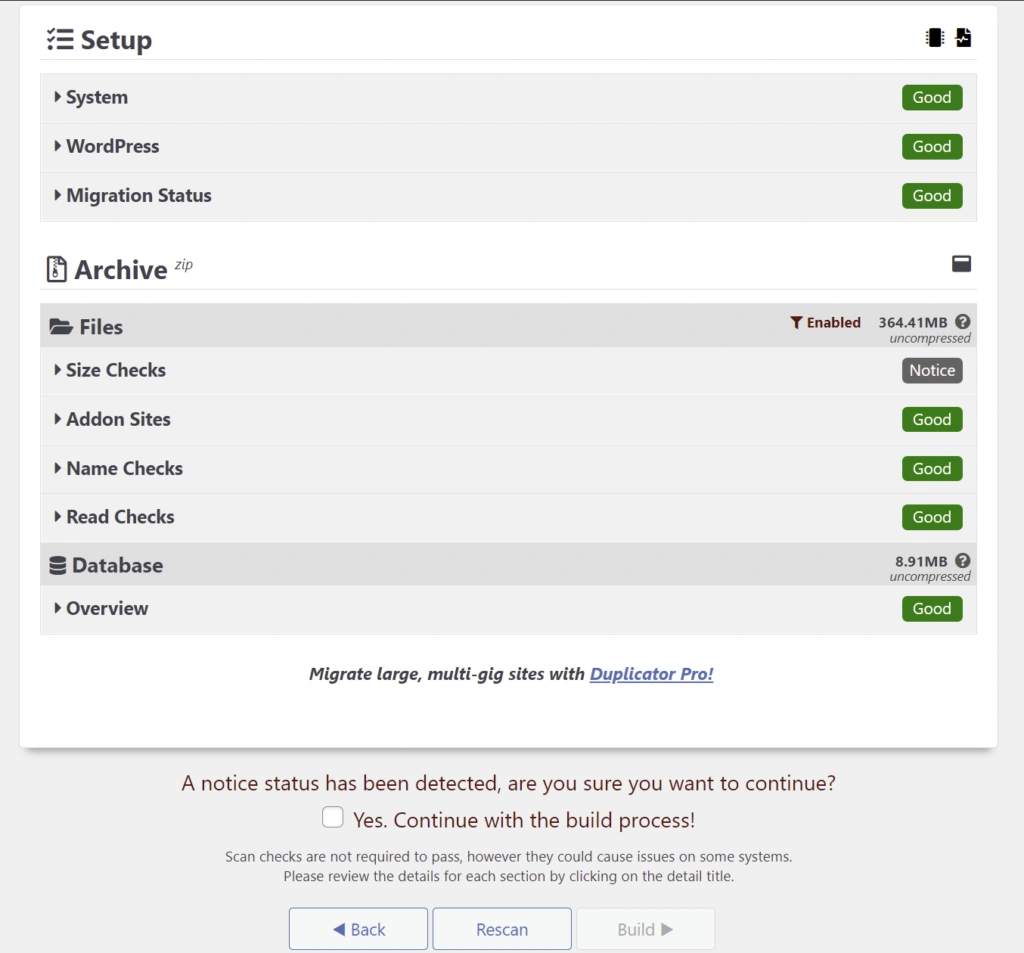
It gave a warning because I had some big files and components, but the site isn’t massive, so I checked the Yes box, and selected Build.
 Duplicator-scan.webp
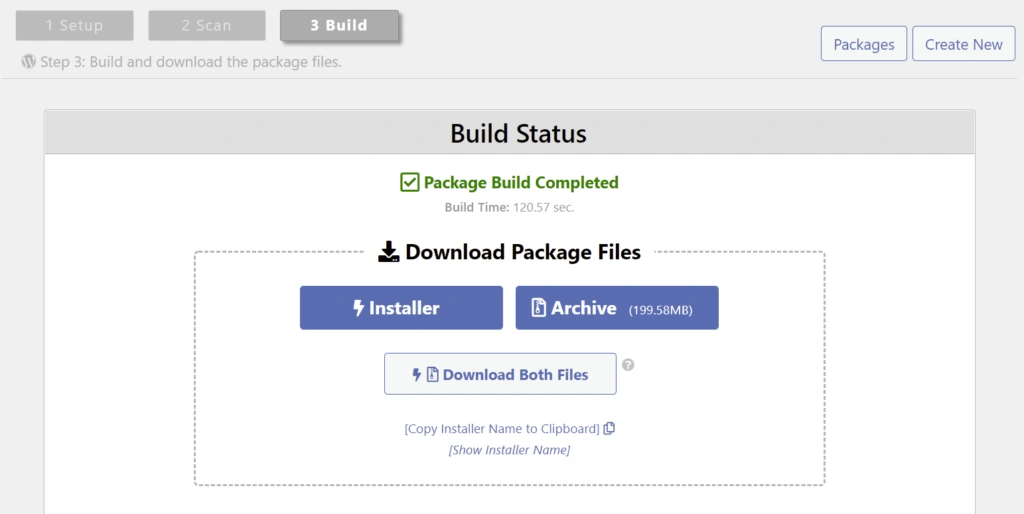
The package builds, then I downloaded both the installer script (a .php file) and the archive (a .zip file) when it was completed, choosing Download Both Files.
 Duplicator-download.webp
I downloaded the files to the [site folder]/app/public directory. Your folder will be in ~/Local Sites/[lowercase sitename] on Mac or Linux, or C:/users/[your username]/Local Sites/[lowercase sitename] on Windows.
Then open http://[sitename].local/installer.php in your browser. It will redirect you to an https page and may present a warning about the certificate. You can select the Advanced options button and accept the “risk.”
The resulting screen will show the result of various checks. Since a WordPress blog is already installed in the folder, it warns that you’ll be overwriting it.
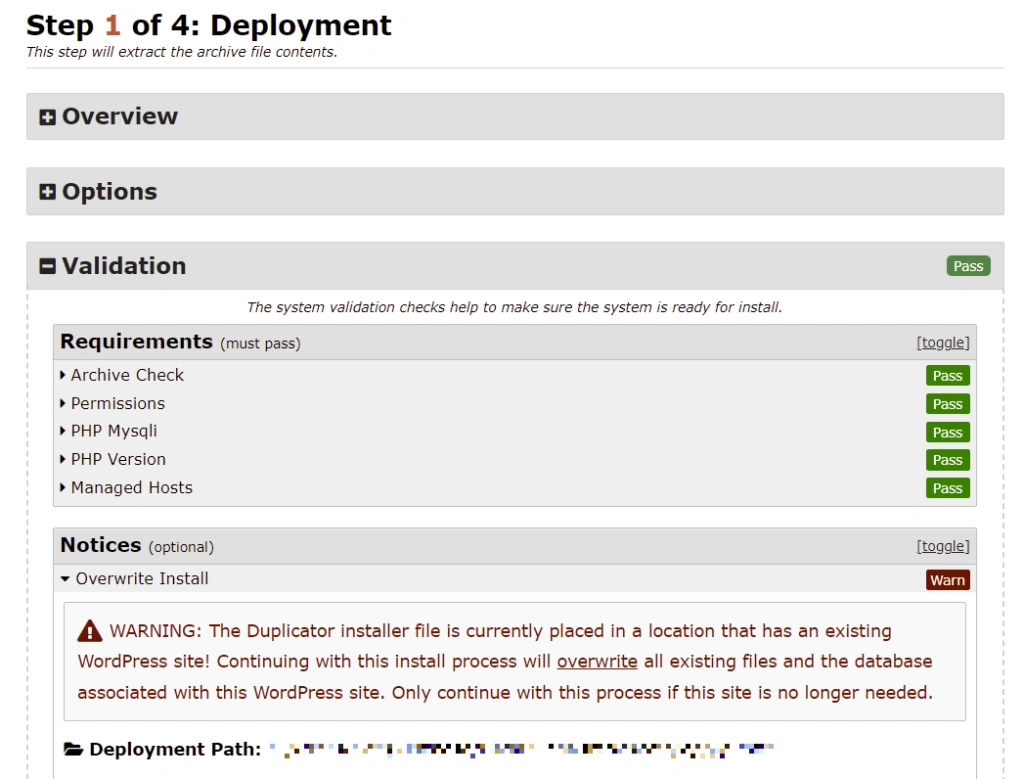 Duplicator-install-1.webp
This is okay and what you want to do. So long as everything else reads “Pass” or “Good,” check the boxes at the bottom to continue with the overwrite and accept the terms and notices, then select Next.
You’ll get an indicator that it’s extracting, then go to step 2. Stick with the defaults and select Test Database to enable the next step. Then select Next. It will ask once again to confirm you’re going to overwrite with these settings. As long as you’re sure you’re just overwriting the site Local created for you, you’re safe to proceed. Select Okay.
Next, it will update the site data. Note this uses https in the URL. Change it to http. Then select Next
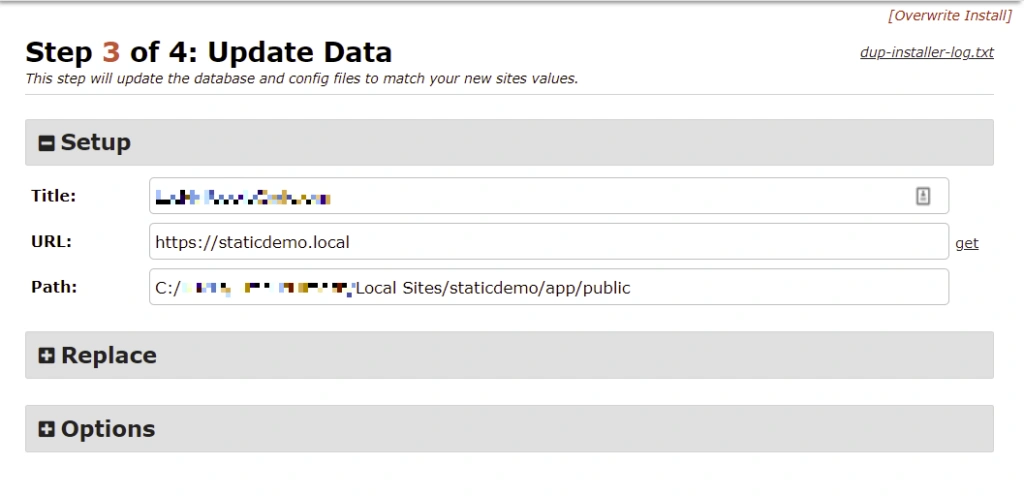 Duplicator-install-2.webp
It will update the data and then give you a results page with a button to go to the admin login.
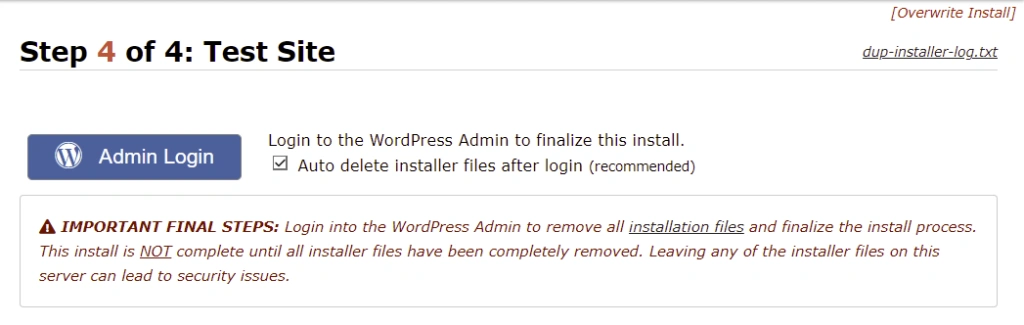 Duplicator-install-3.webp
You will login with your site admin name and password. They’re imported too..
Unfortunately, when I went to load the admin login, I ran into a bunch of PHP warnings because Duplicator decided to skip some files from a security plugin.
Troubleshooting Tip
The warning pointed to files that were all in the same plugin folder…
Warning: include(/xxxx.php): failed to open stream: No such file or directory in ~/Local Sites\staticdemo\app\public\wp-content\plugins\[plugin name]\…
There is a way to go hand-edit the database and disable all the plugins, then re-enable all of them one at a time, but the easiest thing is to go to the ~/Local Sites/app/public/wp-content/plugins folder and rename the folder for the plugin by adding a period before it. That should disable it and you should be able to load the admin login.
Prepping for export
Some other plugins didn’t work either, like Google Site Kit, which requires you to be running it from a registered domain in your account. It was still loading various Google Site Kit scripts, but Google would not respond to calls from my local site. I also lost a “related posts” section at the bottom of the page.
This is a very important thing to consider. If you’re depending on features from your plugins and themes that are tied to a URL/site specific license, you may need to reconfigure them or replace them depending on how you set up the site from which you’re exporting.
Also consider the features WordPress itself provides on the back-end. If you have comments turned on, you’ll export a comments form that your static site may not be able to use. Tuning is required to really get it ready for prime time. But since we’re exploring here, let’s leave it at that.
Exporting with WP2Static
Here’s the process I followed to install it.
- Download the zip from their download page and then unzip it. They ask for your email-address and will send you the download link via email. You’ll get multiple zip files after unzipping the download. You can build it all yourself from their GitHub if you’re adventurous.
- Go to the WordPress plugins page in your admin section.
- a) Select Add New.
- b) Select Upload Plugin.
- c) In the file picker, locate and select the wp2static-7.1.7.zip file you got from unzipping the download.
- d) Select Install Now.
- e) Activate the plugin.
- f) Repeat this process with the wp2static-addon-zip-1.0.1.zip plugin.
That will add a WP2Static option in your administrative sidebar navigation. Select it.
- Select the Addons menu.
- Enable the zip deployment addon.
- Select the Options menu.
- In the Post-processing Options section, make the Deployment URL value blank.
- Select Save options.
- Select the Run menu.
Items 3-5 allow you to put the results in any hosting solution you want and access them. It makes all the URLs relative. When you’re ready to start publishing to your own domain, you can set that to the root to make URLs absolute.
In the Run menu, select the Generate static site button. It’ll take a few minutes (or more – maybe go get some coffee) and there might be a couple of small errors, but so long as the logs don’t state any big errors you should be good.
If you get a 500 error that stops it early on: This may be because your site is running at https, but the self-signed SSL certificate Local created isn’t trusted by PHP, which as mentioned before, is a blog in and of itself.
Also, I found that when running this on Windows, WP2Static worked the first time and then failed regularly every subsequent time. Rather than troubleshoot that, I switched to Mac, on which the whole process ran flawlessly.
Previewing your generated static site
Now, you have a multitude of options to preview the static site. I run another local server on a different port. Here are some options, depending on what you have installed and in your path:
- PHP: php -S localhost:4040.
- Python: python -m http.server 4040.
- Node JS: Because you can’t access the built-in one without scripting, you can simplify by installing a server package globally, then run it from the command line.
- npm install -g http-server
- http-server –port 4040
The site is deployed within a folder in your local WordPress files that you can access at https://yourlocalurl/wp-content/uploads/wp2static-processed-site/, but with all the files having relative URLs, any links you click from that copy of your home page will go back to the locally hosted WordPress server.
- 1. Download the zip via the plugin and deploy to a remote server:
- Go to the WP2Static Addons menu (see above).
- Select the gear icon under Configure.
- Download your most recent .zip.
- Put it on a server and unzip it into a publicly accessible directory, then access it at that server’s URL.
- 2. Run a local server from inside your WordPress directory.
- In a command line terminal, navigate to the Local Sites directory Local created.
- Navigate to [project directory]/app/public/wp-content/uploads/wp2static-processed-site/
- Start a local server like noted above, and access it at http://localhost:4040
I have it side-by-side with the real site below (real site on the left, static on the right). Aside from a couple of font differences and the static one not serving ads, they’re a pretty good match.
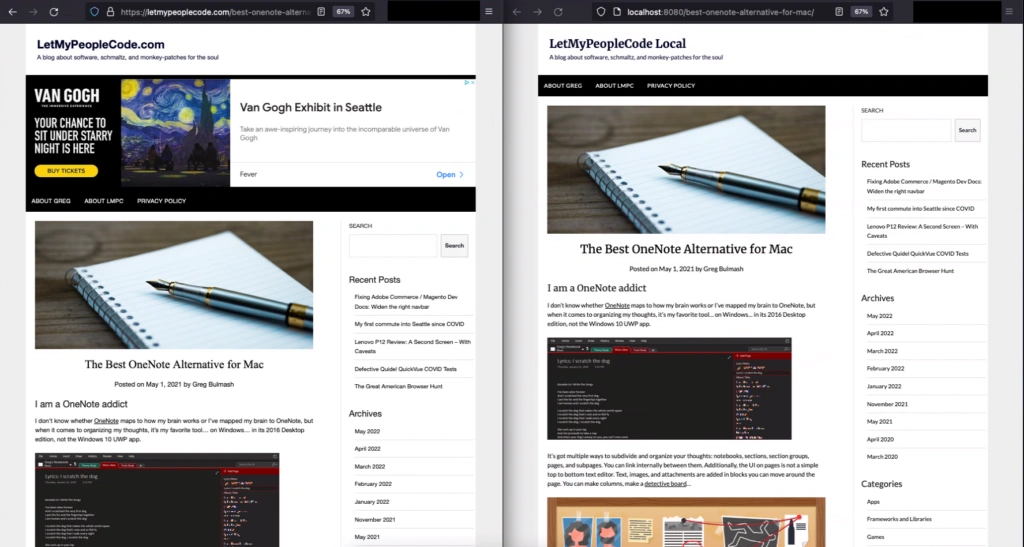 WP2StaticFinal-sbs.webp
Upsides:
Very good copy of the site. Crawled and scraped it well.
Downsides:
It’s basically just a scraper. It cannot handle backend services like accepting comments or the internal search function. Functionality that still relies on your WordPress server has to be removed and/or replaced with plugins that make the functions independent of your WordPress server.
Also, I had a static content folder on the server that was not in the standard WordPress hierarchy (some final versions of games from a JavaScript game dev class I taught for kids). While Duplicator picked it up, WP2Static didn’t. I’d have to copy it into the WP2Static folder or move it into the WordPress content folder hierarchy and adjust the links.
In Summary:
This is as close to “plug and play” as you get except for:
- Features that require a backend server like comments, memberships, etc. If you’re trying to get the benefits of a headless solution, you’ll need to offload those to a third-party service that you can plug in or proxy them from your existing server.
- If you weren’t already publishing to a staging server that was configured to work with your URL-specific licenses, you may have to do some gymnastics to make your local/staging server display and function exactly as the site will in production.
Next Time
This article looked at building a copy of your site with a plugin that basically makes copies of all the possible pages after they’re generated by the site and zips them up with your collateral. While WordPress still owns the generation of the pages, it’s no longer serving them to your customers or caches while you have lower costs to serve them and fewer attack surfaces.
The next article will look at a process that pulls data about your WordPress content from an API in your WordPress site, then builds pages based on its own JavaScript framework.
In the meantime, try this process and see how it works for your site. And if you want to be sure you get the next installment, scroll up, find the blog subscription form on the right side of the page, and subscribe.


